Macro in the field
What is Macro-photography
Traditionally, macro photography meant that the lens on the camera was capable of laying an image onto the sensor that was at least the same size as the subject - a ratio of 1:1 of sensor image size to actual subject size. A specialist macro lens was required to achieve this. In these days of high-resolution sensors, this strict definition is a little less meaningful. It is very possible to take insect images without getting to 1:1. An adequate image can be achieved with much lower ratios.
Having said all that, the best images are always going to be the ones taken with a good macro lens, good lighting and using as much of the sensor as possible. We will now look at the best ways to achieve that in the context of taking macro shots in the field, i.e. in the insect’s natural environment. (In the next section we will look at macro photography and photo microscopy in the studio/laboratory.)
The equipment
A good DSLR or mirrorless camera, ideally with a high-resolution sensor and coupled with a macro lens, is a good place to start. Macro lenses come in different focal lengths. For some of the photos in the Gallery section, a 90mm lens with a full-frame Sony camera was used. With crop-sensor cameras, the equivalent macro lens has a shorter focal length. In the Gallery, there is the example of a micro-four-thirds Olympus fitted with a 30mm macro lens. Both give great results. When greater magnifications are required, this can be achieved by adding various lengths of extension tubes to the lens. Alternatively, or in addition, a magnifying clip-on lens, such as those made by Raynox, can be added to the macro lens. A third option is to use a macro bellows extension to the macro lens. (This third option adds a little more weight and may mean the loss of the autofocus capability of the camera, however it allows variability in the magnification without adding or removing extension rings. For those reasons it is more likely to be seen in an indoor studio set up). These are all cheaper options than buying a magnifying macro lens.
For most of us, the budget is a constraint to the type of equipment we buy. It is very possible to get a good macro lens solution by acquiring a second hand lens, maybe a 50mm lens from the pre-digital era, and reversing it using a cheap adapter. (See here for more details: https://shutterstoppers.com/secrets-macro-photography-reverse-lens).

16mm and 10mm extension tubes
(Photo credit: Viltrox)
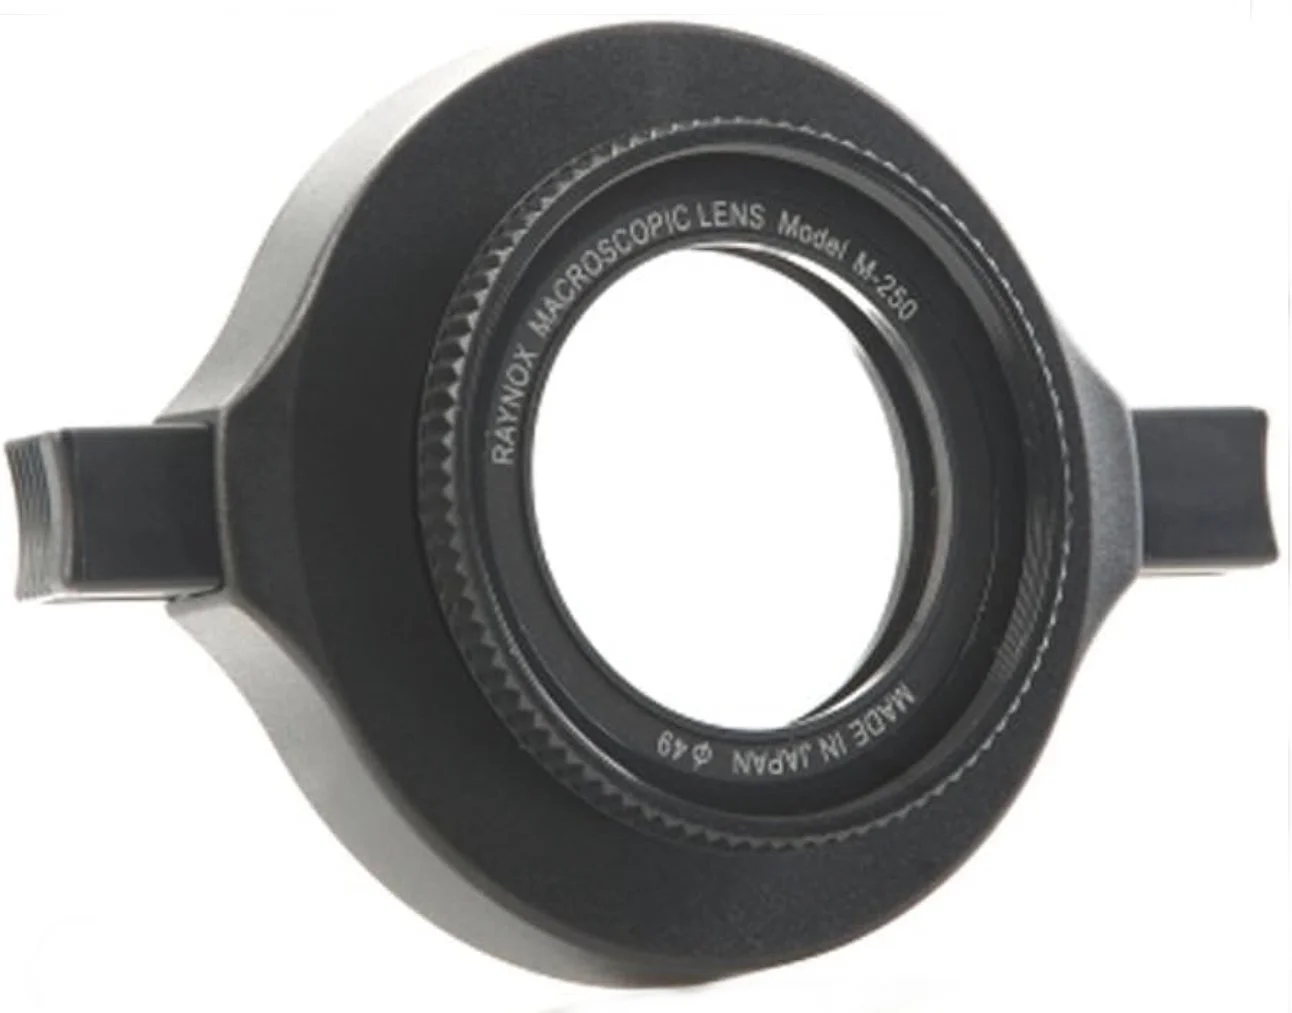
Raynox magnifying lens
(Photo credit: Raynox)
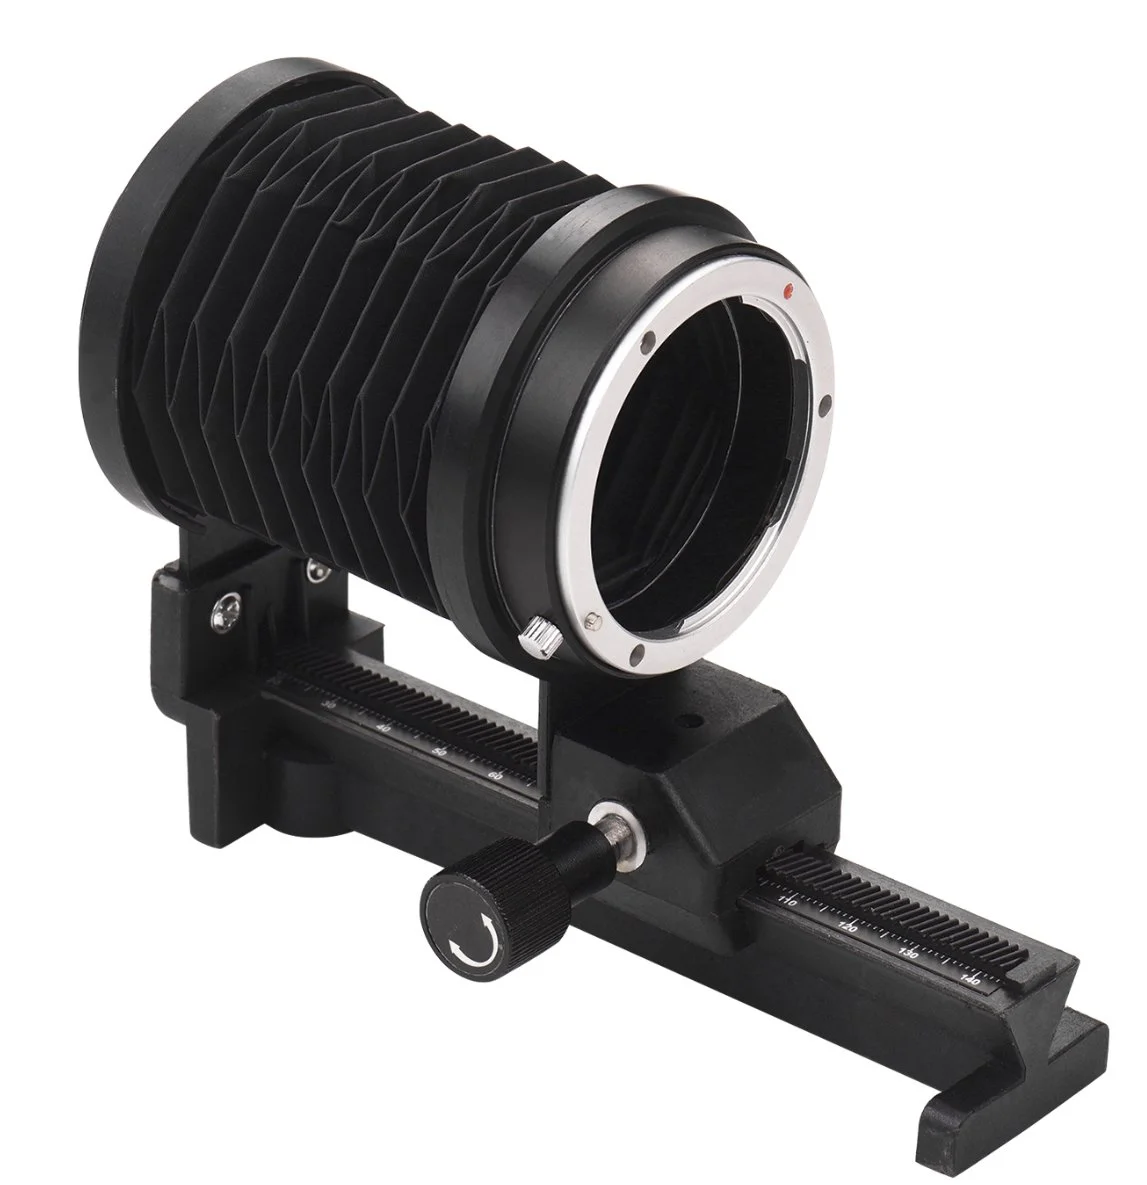
Macro bellows
(Photo credit: Grandado)
Supplementary lighting is essential for macro photography. See menu for more on lighting.
Taking the shot
We will talk about three different methods of collecting the photos, at different focal points, to eventually stack into a single image:
Method A - moving the camera to collect the images required
Macro shots of insects will normally have a very narrow depth of field. This means that single-shot images will usually only feature a part of the insect in focus. The higher the magnification of the shot, the narrower is the depth of field. It follows then that the greater the magnification, the more we need to rely on focus stacking to produce a good image.
Fortunately, the technique to collecting photos for a focus-stacked image is no more difficult than it is when using a long lens (see previous section).
We probably need to take a practice shot or two to check that the exposure is going to be OK given the settings we have chosen. Then we focus the camera on the nearest point of the image and take a sequence of shots using high speed shooting. At the same time, we move the camera slowly forward by a centimetre or two to get the whole of the insect covered. The objective is to get images that together show all points of the insect in focus. Subsequently we are going to put those photos into a focus stacking app to create one image.
Method A - image 1 - focus stacked image of the Horehound Bug
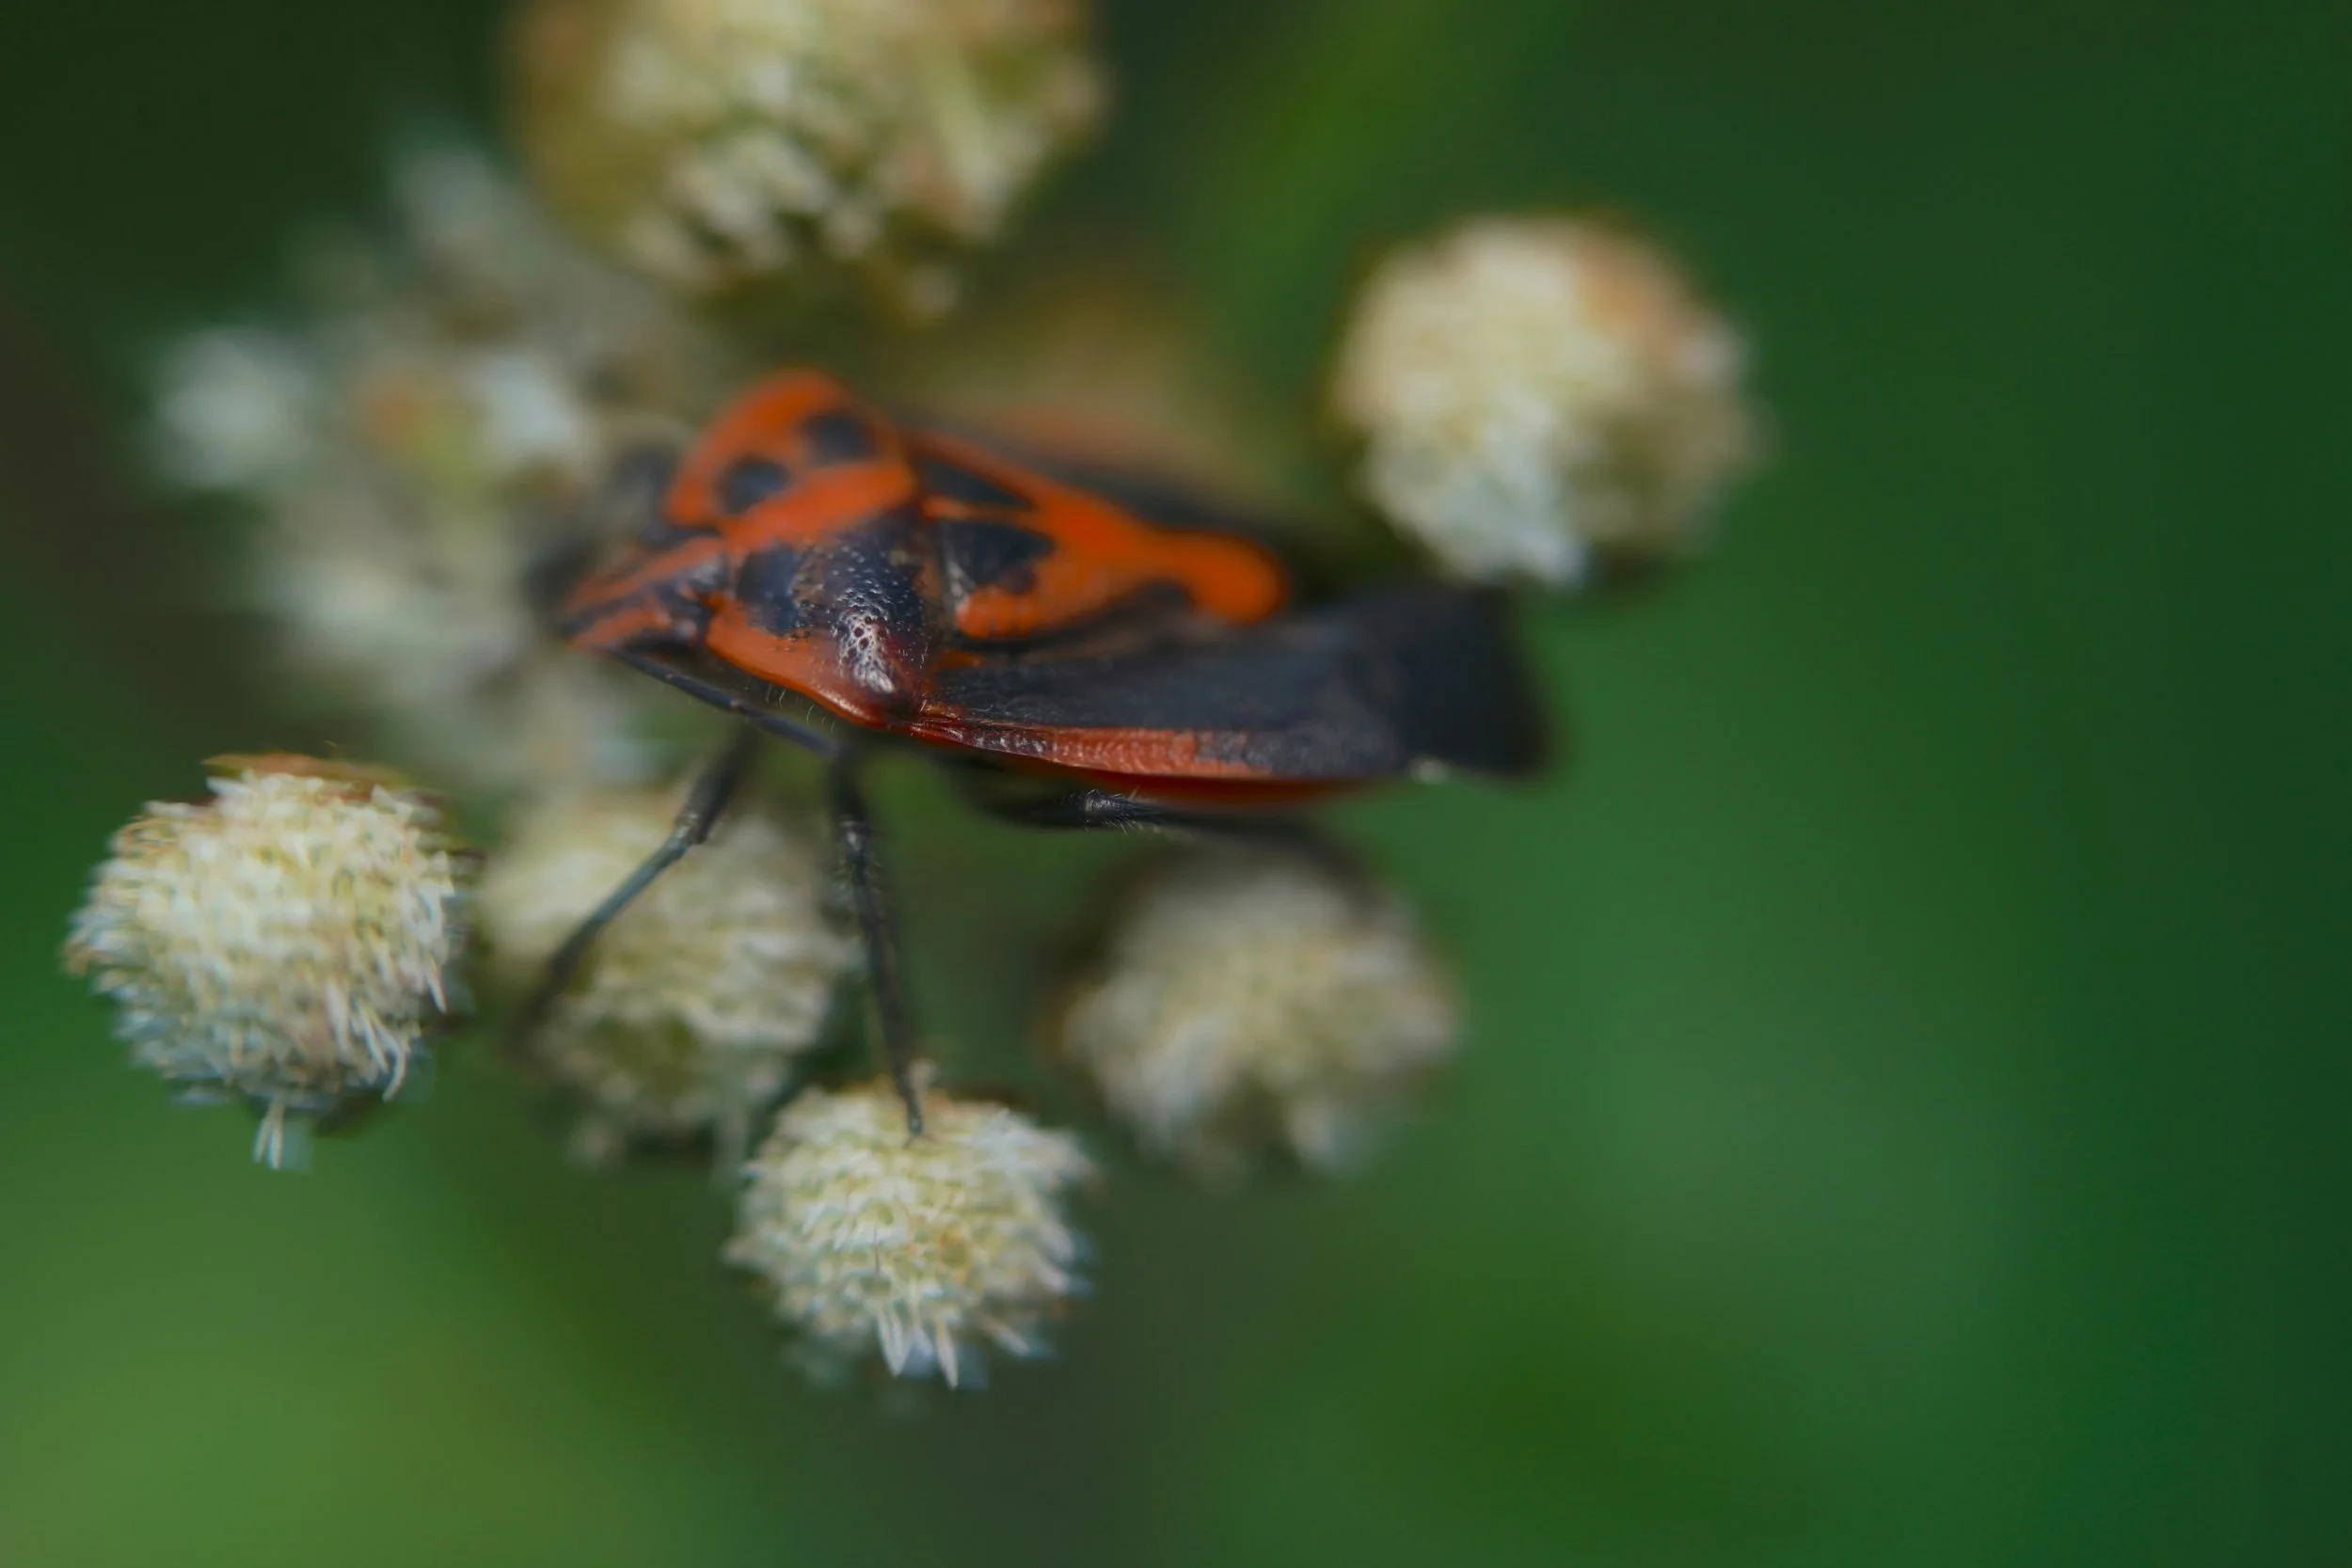
One of the 36 shots that were taken in the sequence. Note that only a very small part of the insect is in focus. Focus stacking is required to get an image with all the insect in focus.

Method B - in camera focus stacking
Many modern cameras now have a built-in feature to take a series of shots at a different focal point on the subject. The camera makes the adjustments to get all the focus points accounted for. These can then be focus stacked in post processing. Some cameras go one step further and can do the alignment and stacking in camera and present you with a composite stacked image. One camera that does this well is the Olympus OMD range. (For handheld images however, the alignment task seems usually to be too challenging for the OMD and you may need to do the stacking in post-process or take the shots using a monopod).
If you are lucky enough to have a camera with focus bracketing capability, this is probably the easiest way to collect the shots for your stacked image.
Method C - stacking using remote control and an external device for adjusting the focal point
Various external devices can be attached to the camera to manage the collection of focus stacked shots. One such device is the Camranger 2. The Camranger 2 device allows user-control on an iPad/tablet/computer. This sort of arrangement is ideal for photographing very small things in awkward places.
Note that many cameras allow direct control using an app on the iPad/tablet/computer/phone, making the external device unnecessary. However, Camranger continues to be popular because of its ease of use.
The photo below shows the set up that was used to monitor the flowers of a tiny, rare orchid to determine what was pollinating the flowers. Using this set-up, it was possible to monitor the flower for an extended period from the comfort of a camping chair!
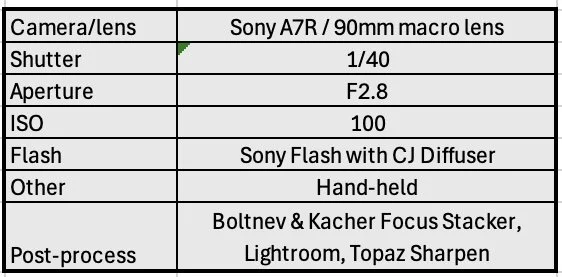
The camera here is fitted with a 90mm macro lens and 52mm of extension tubes to increase the magnification. Focusing was controlled from an iPad using the Camranger 2. A separate battery pack was used to extend operating time of the Camranger.
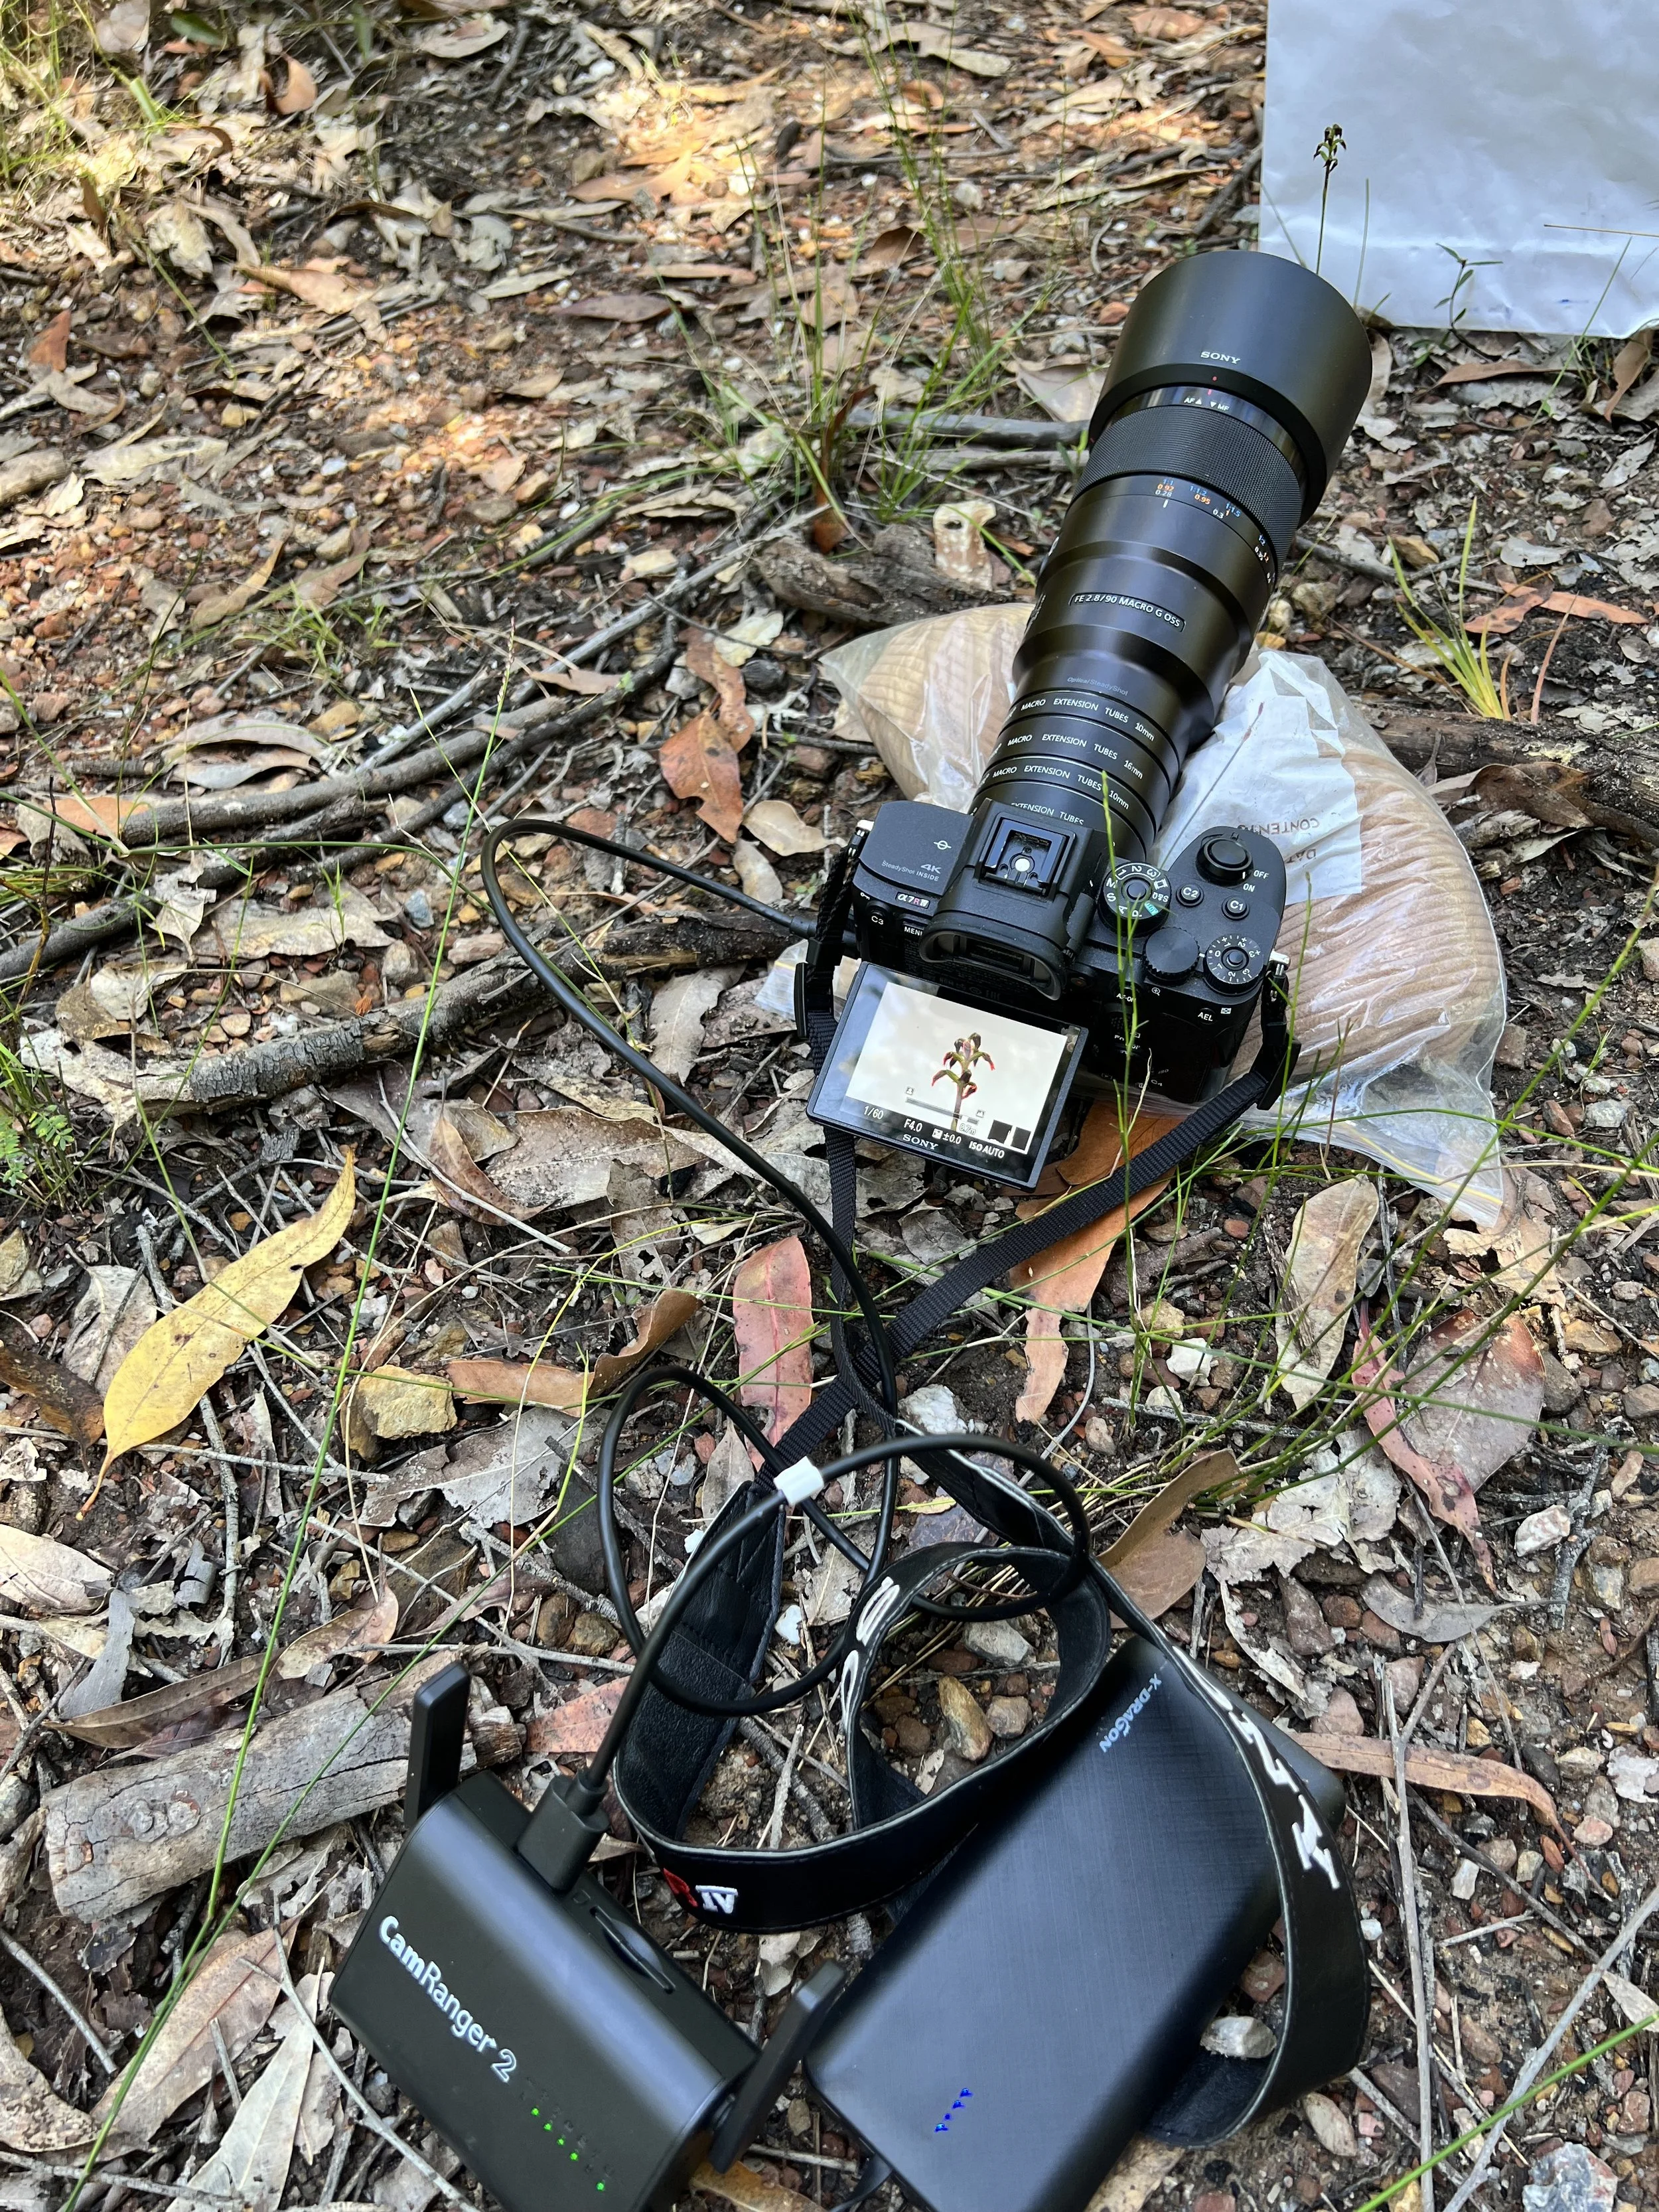
In this case, the mission was successful and the probable pollinator of The East Lynn Midge Orchid, Corunastylis vernalis, was identified as a tiny Chloripid grass fly, Conioscinella sp.

For more information on this project :
Warburton, P., Morrissey, D., & Kaye, P. (2023). The spider and the fly: Post-fire predation of potential pollinator of the threatened East Lynne Midge Orchid ('Corunastylis vernalis'). Australasian Plant Conservation: Journal of the Australian Network for Plant Conservation, 31(4), 7-9.
The final image of the Horehound Bug, Agonoscelis rutila, after stacking and post processing. All points throughout the insect are now in focus.
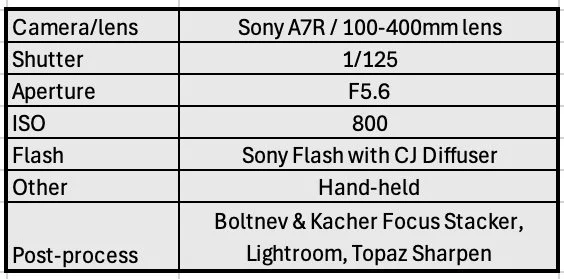
Method A - image 2 - stacked image of another Horehound Bug
For comparison, here we have another focus stacked image of a horehound bug that we described in the previous section about photographing unobtrusively with a telephoto lens. (The natural colors on this one are a little different to the first). This time, different camera settings were used, based around the use of a long lens and a wider aperture. For this shot only three photos were focus stacked to create this image.
Question: a) How do you think this shot compares with Image no 1. Which is better?
Question b) Why were only three shots need for this image but the first needed 36 images.