
Photographing insects in the laboratory/studio
Photography of insects in an indoor situation, usually with dead, immobile specimens, allows for far more detailed photographs. The camera can be mounted firmly on a rig of some sort, or it can be firmly mounted on a microscope. Probably, we are going to be taking higher magnification shots, with very narrow depths of field, so it is very likely that we will want to focus stack the images.
Macro-rail
For images in an indoor setting, a macro-rail is a good equipment choice for mounting the camera. A macro-rail is a device that moves the camera in very small increments using a servomotor. Incremental movements can be just a few tens of microns each time. It is possible to assemble up to a couple of hundred photos of an insect for subsequent focus stacking.
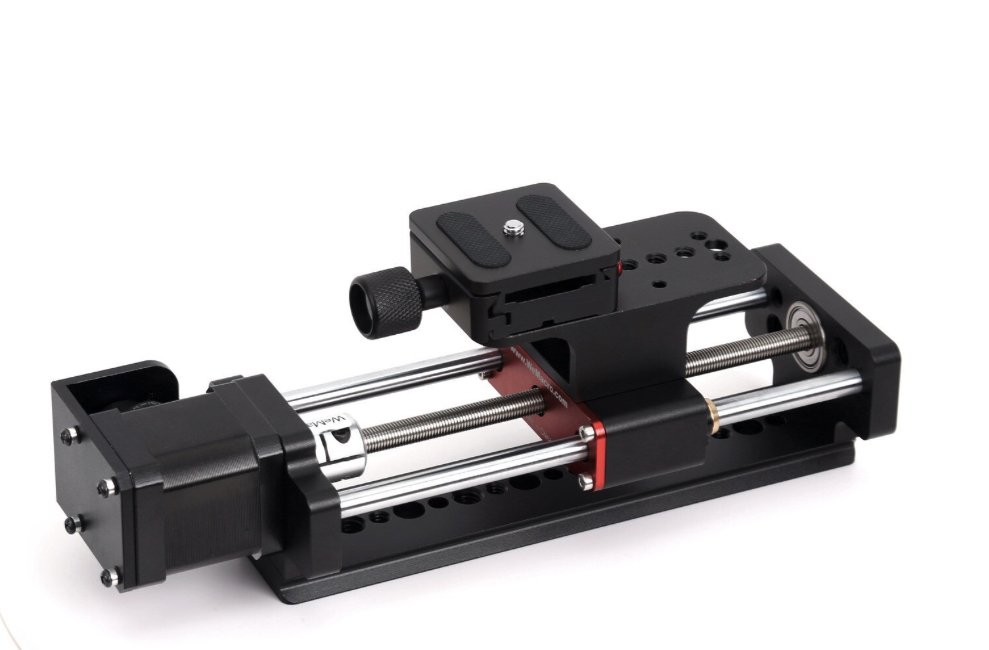
Macro-rail by the company “Wemacro”
Lenses
With the camera mounted on the macro-rail the lens can be a high magnification macro lens, or it can be a regular macro lens with extension tubes/Raynox magnifier to increase magnification. It could also be a microscope objective mounted on a tube and attached to the camera.
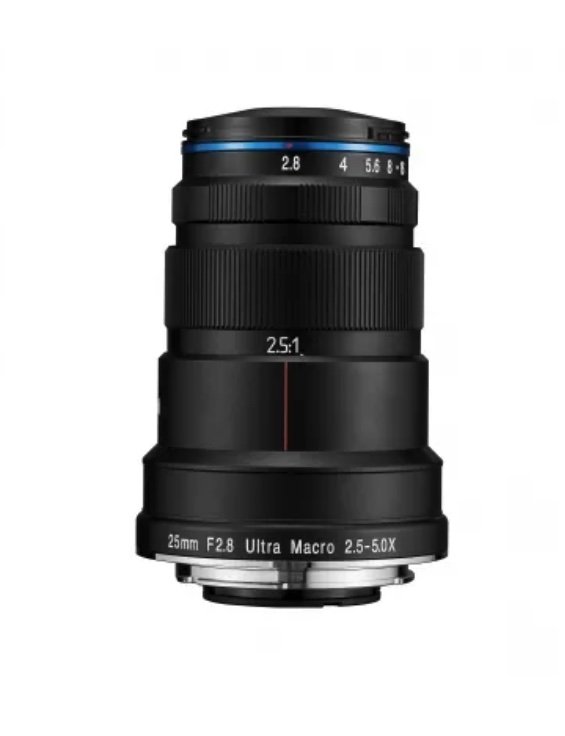
Laowa 2.5 to 5x magnifying macro lens
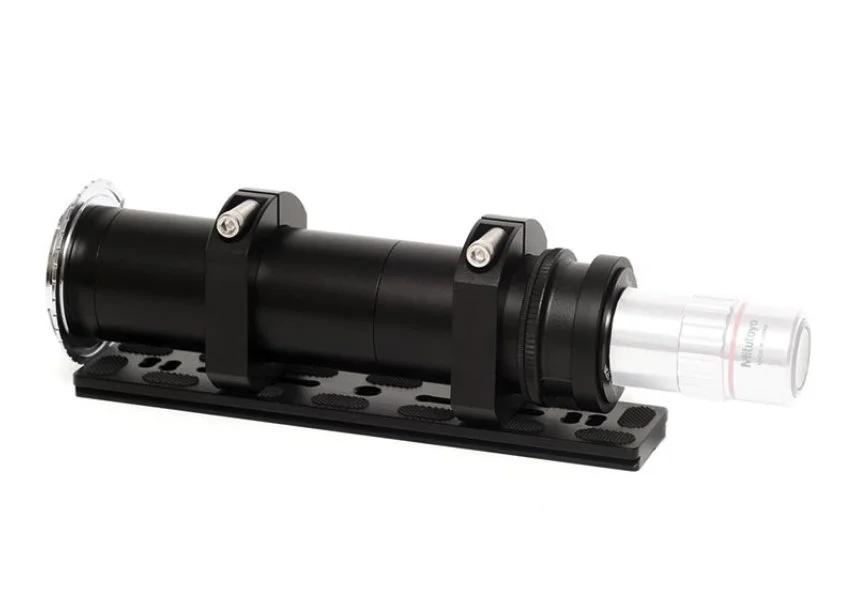
Wemacro tube lens for a microscope objective
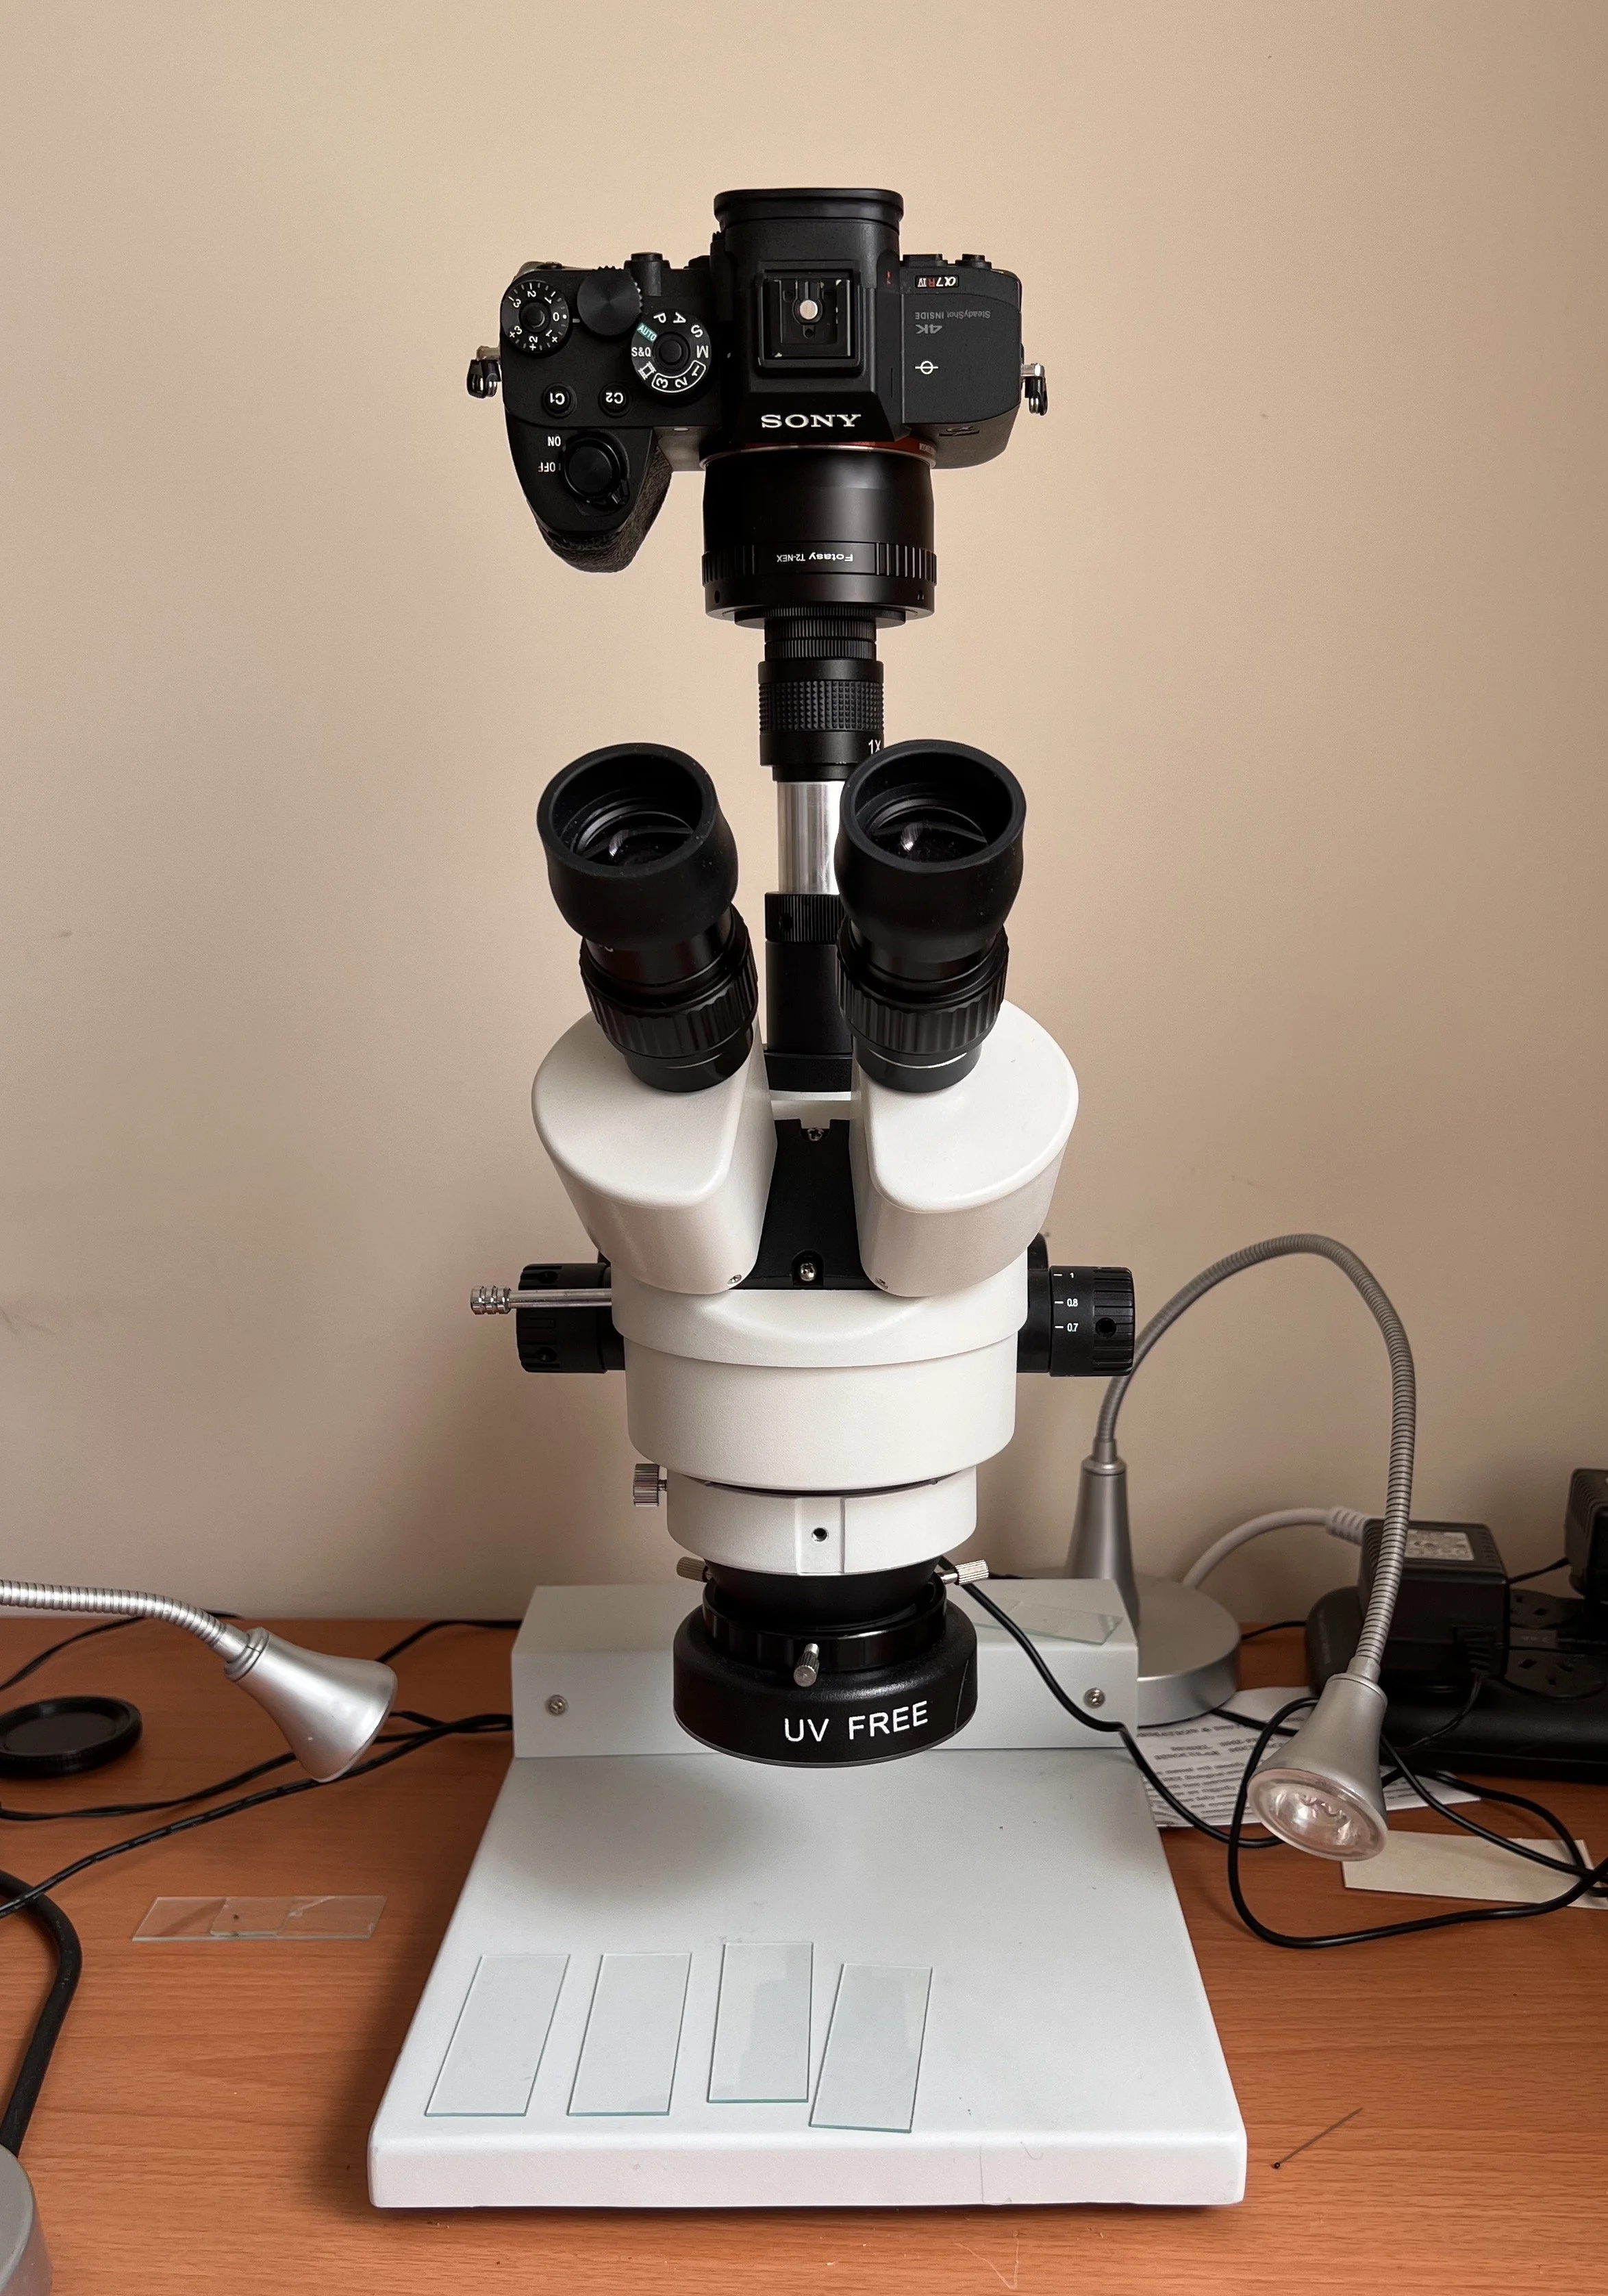
In the absence of a macro-rail and tube lens, it is possible to go for a more traditional approach of a camera fitted to the third ocular piece on a microscope. Generally, this is an inferior solution as it features less control over camera focusing and there are more obstacles to properly illuminating the subject. In terms of cost, a new microscope and adapter will be more expensive than the tube lens option.
The Macro-rail set up
The macro-rail is controlled by a computer which is attached by a cable. The manufacturer provides the control software.
The macro-rail itself must be mounted on a firm base. A good solution is to mount it on a mini 3 axis compound bench which in turn is mounted on a solid bench or jig. The compound bench can be purchased quite cheaply on eBay or Amazon and this allows for course adjustment of the macro rail.
The camera and lens is attached to the macro-rail.
To manage the camera conveniently it is best to control the camera remotely from a tablet or computer. Many cameras allow such control with an app provided by the manufacturer. Where this isn’t possible, there are third party control units that achieve the same purpose; a good example is the Camranger 2 device.
Taking the shots
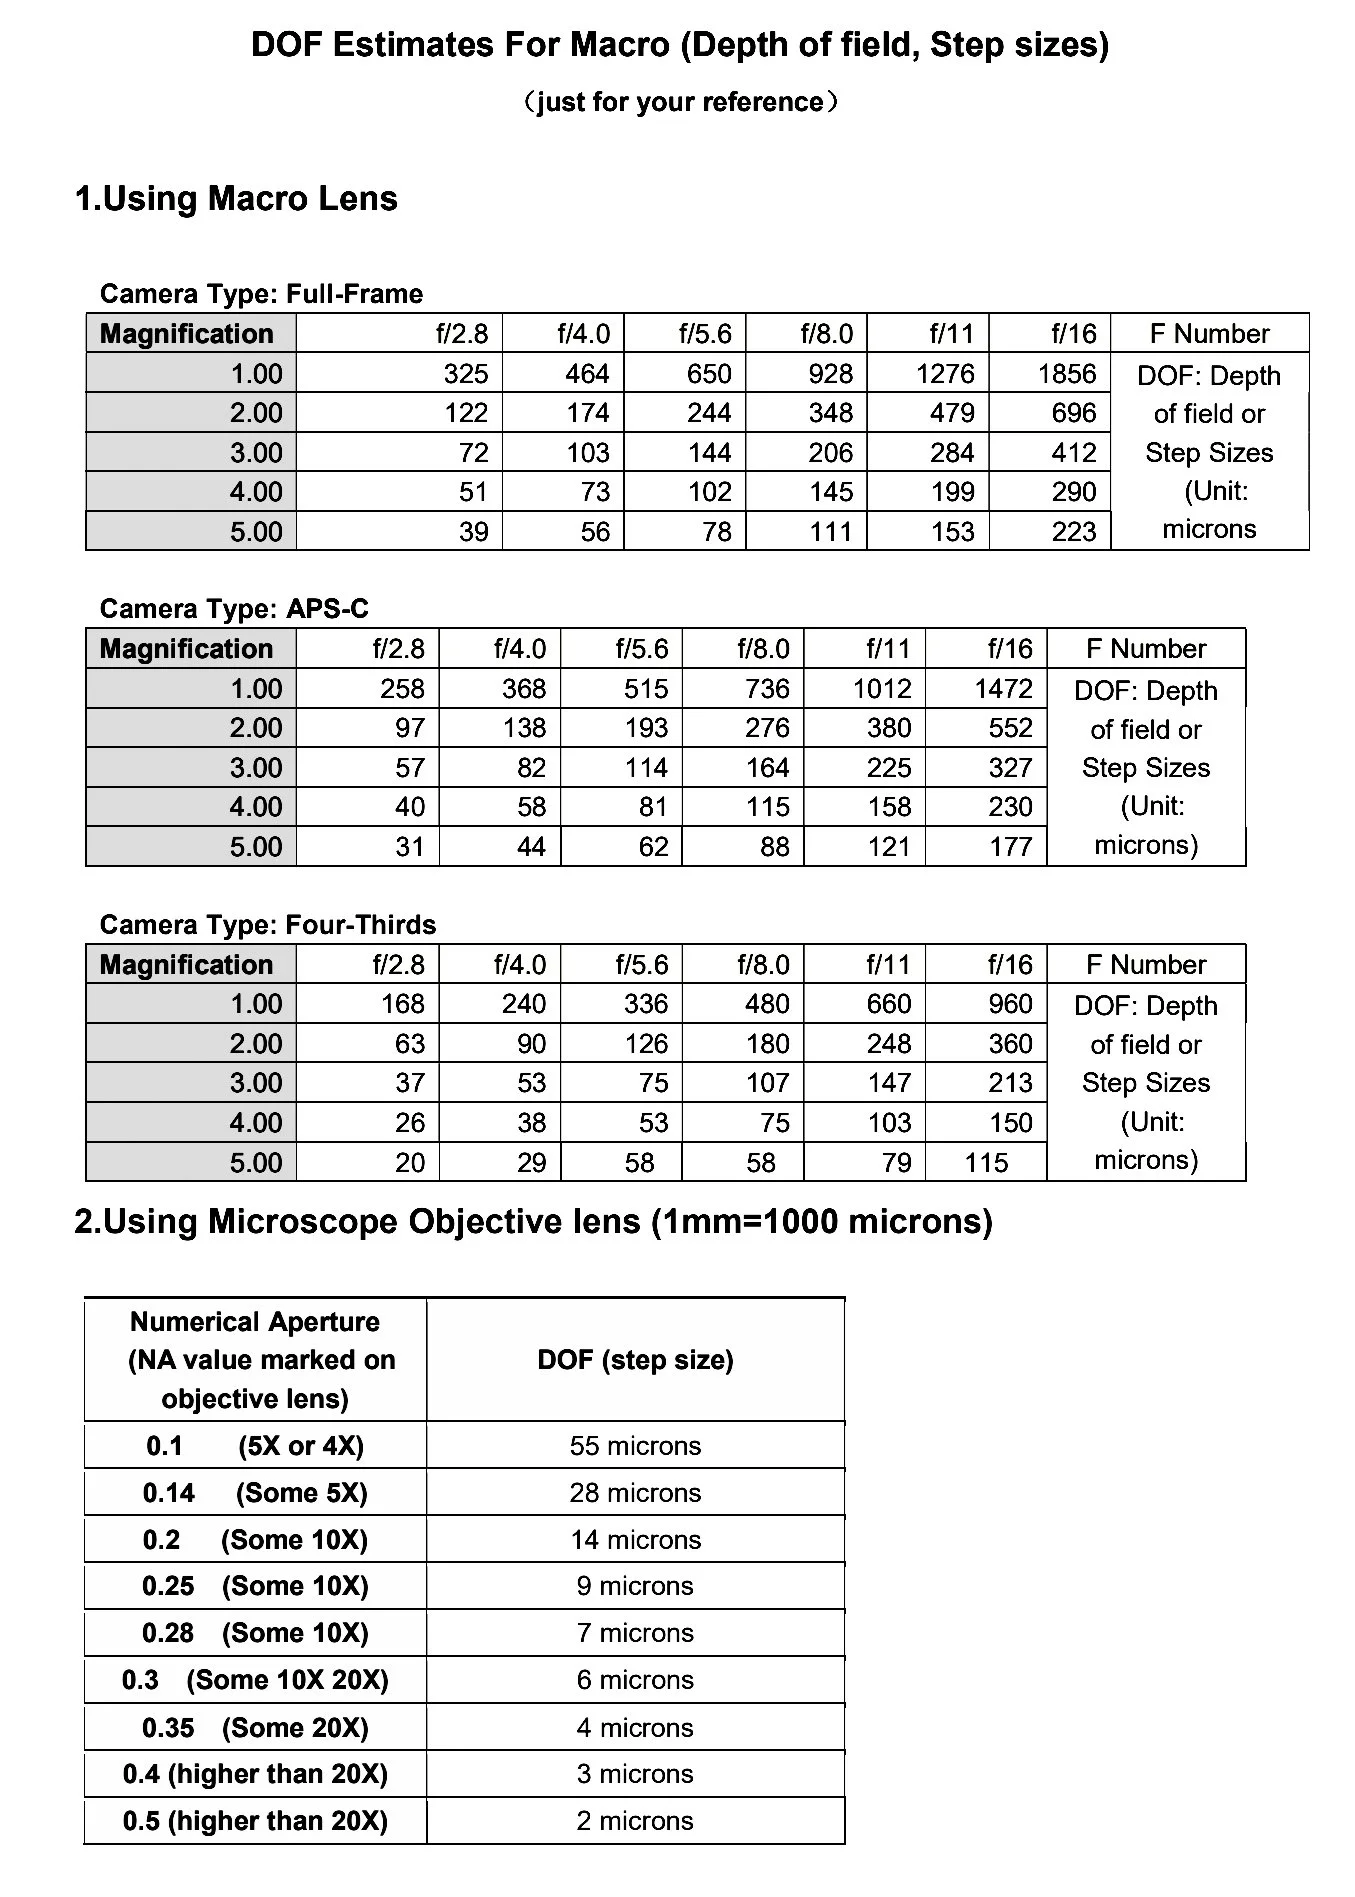
The size of the increment between shots depends on the magnification and the aperture setting you chose. Wemacro provide a chart explaining the optimal increments for each situation. It is important to use these increment sizes or slightly smaller. If you use larger increments, there will be areas of blur in the resultant image.
The following video outlines the setup and method for taking the shots.
The image from the stacking process

Ectomocoris ornatus
Family Reduviidae
Suborder: Heteroptera
Order: Hemiptera
©Phil Warb
Tables reproduced by kind permission of Wemacro
Another example image
Another example of a photo taken in this way is a gall midge in the family Cecidomyiidae. The specimen photographed was very small body length just over 1mm.
46 shots were taken using a 5x microscope objective (NA 0.1) in the tube lens, with an increment between shots of 50 microns. These were focus-stacked using the Zerene software.

Family : Cecidomyiidae (Forest and Gall Midges)
Infraorder: Bibionomorpha
Order: Diptera
©Phil Warb
An alternative to the macro-rail: in camera focus bracketing
As an alternative to moving the camera to collect the shots of different focus points, it is also possible to adjust the focus point in-camera if you have a model that offers a “focus bracketing” feature. There is an example of this approach in the gallery, using the focus bracketing feature of the Olympus OMD cameras to get another image of the assassin bug illustrated above.
Both in-camera focus bracketing and the approach of moving the camera using a macro-rail, produce good results. In the case of moving the camera, there is a risk of changing the perspective point from one end of the sequence to the other. The stacking software needs to be able to handle this during the alignment stage of the stacking process. When adjusting the focus in-camera, the perspective doesn’t change, but the magnification does. Images at one end of the sequence will have a slightly higher magnification than images at the other end of the sequence. Again, the stacking software needs to be smart enough to adjust the images during the alignment stage.