
Post-processing
What is post-processing?
Post-processing means the digital enhancement of photographs after the shot has been taken. Usually, we do this on the computer using specialist software.
There are several aspects of an image we may want to adjust. For example:
1) Brightness and exposure adjustments are sometimes required if the settings we used in taking the shot were not exactly right. Software such as Adobe’s Lightroom or Apple’s Preview can be used to make these adjustments. Lightroom is able to make adjustments selectively on particular areas of the image if the whole photograph doesn’t need adjustment.
2) Removing marks or objects from an image is sometimes desirable. For example there may be marks on the image caused by dust or a distracting object that has been caught at the edge of the image. These can be removed by Photoshop using the “clone” tool, or by Lightroom using the “heal” tool.
3) In taking photos in the field, we often introduce some blur caused by movement of the camera during the shot. This is particularly likely if we are deliberately moving the camera to collect photos for stacking. This blur can be corrected to a degree, by software such as Topaz Labs’ Sharpen AI.
4) Photographs of insects in the field can often be affected by “noise”, particularly when we are taking shots using ambient light. Often there is less than ideal ambient light available and the shots end up with a high ISO. To a degree, this can be corrected in post process using software such a Topaz Labs’ “De-Noise” tool.
The first step, before any other post processing, is to carry out any focus stacking that is required. We discuss that separately in this link:
Once we have the stacked image to work on then we can move onto the other post-processing steps:
Adjustment to exposure and removing blemishes
Lightroom is a versatile and powerful tool for making a range of adjustment to an image. For insect photos, the most useful tools are exposure adjustments and the removal of blemishes such as dust marks from the image. The video demonstrates the use of the software.
Sharpening
Sometimes we will introduce a blur into photos, usually through movement the camera while shooting. To an extent, this can be corrected in post-processing using tools such a Topaz Lab‘s “Sharpen” app. The following video demonstrates.
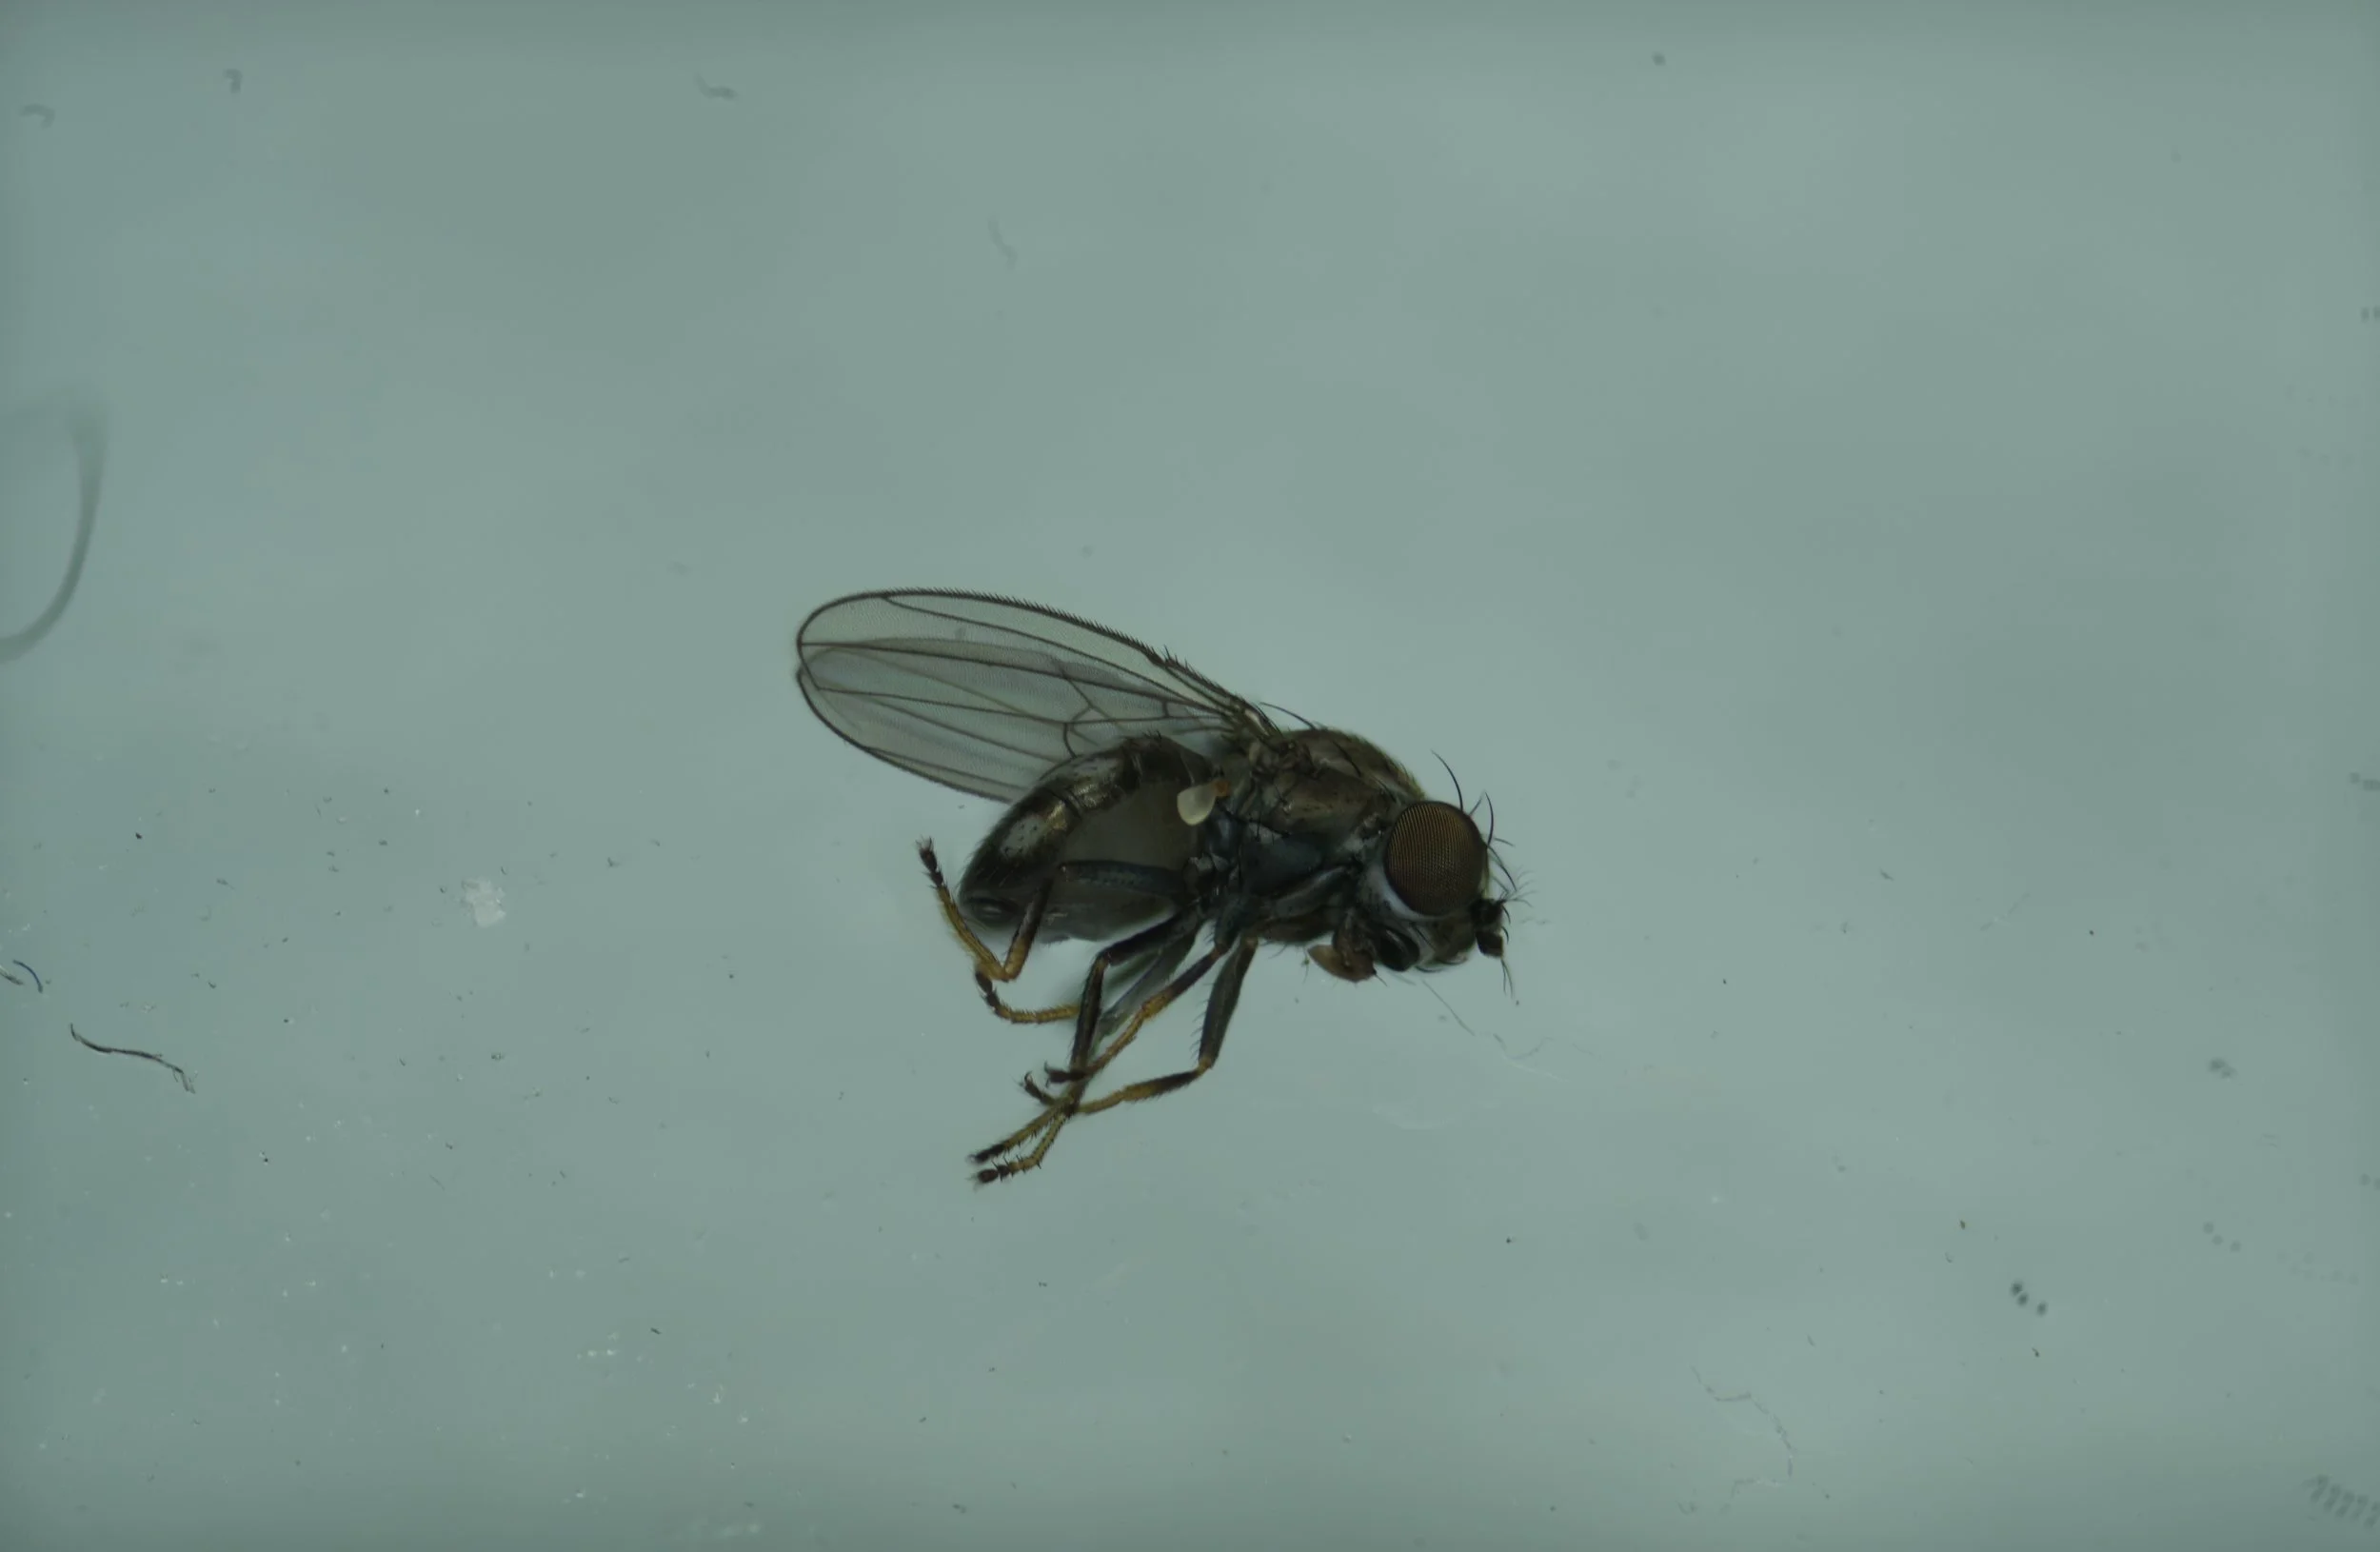
The image we started with:
Before
After
After adjustments in Lightroom and sharpening by Topaz Lab’s “Sharpen” app, we arrived at this image:
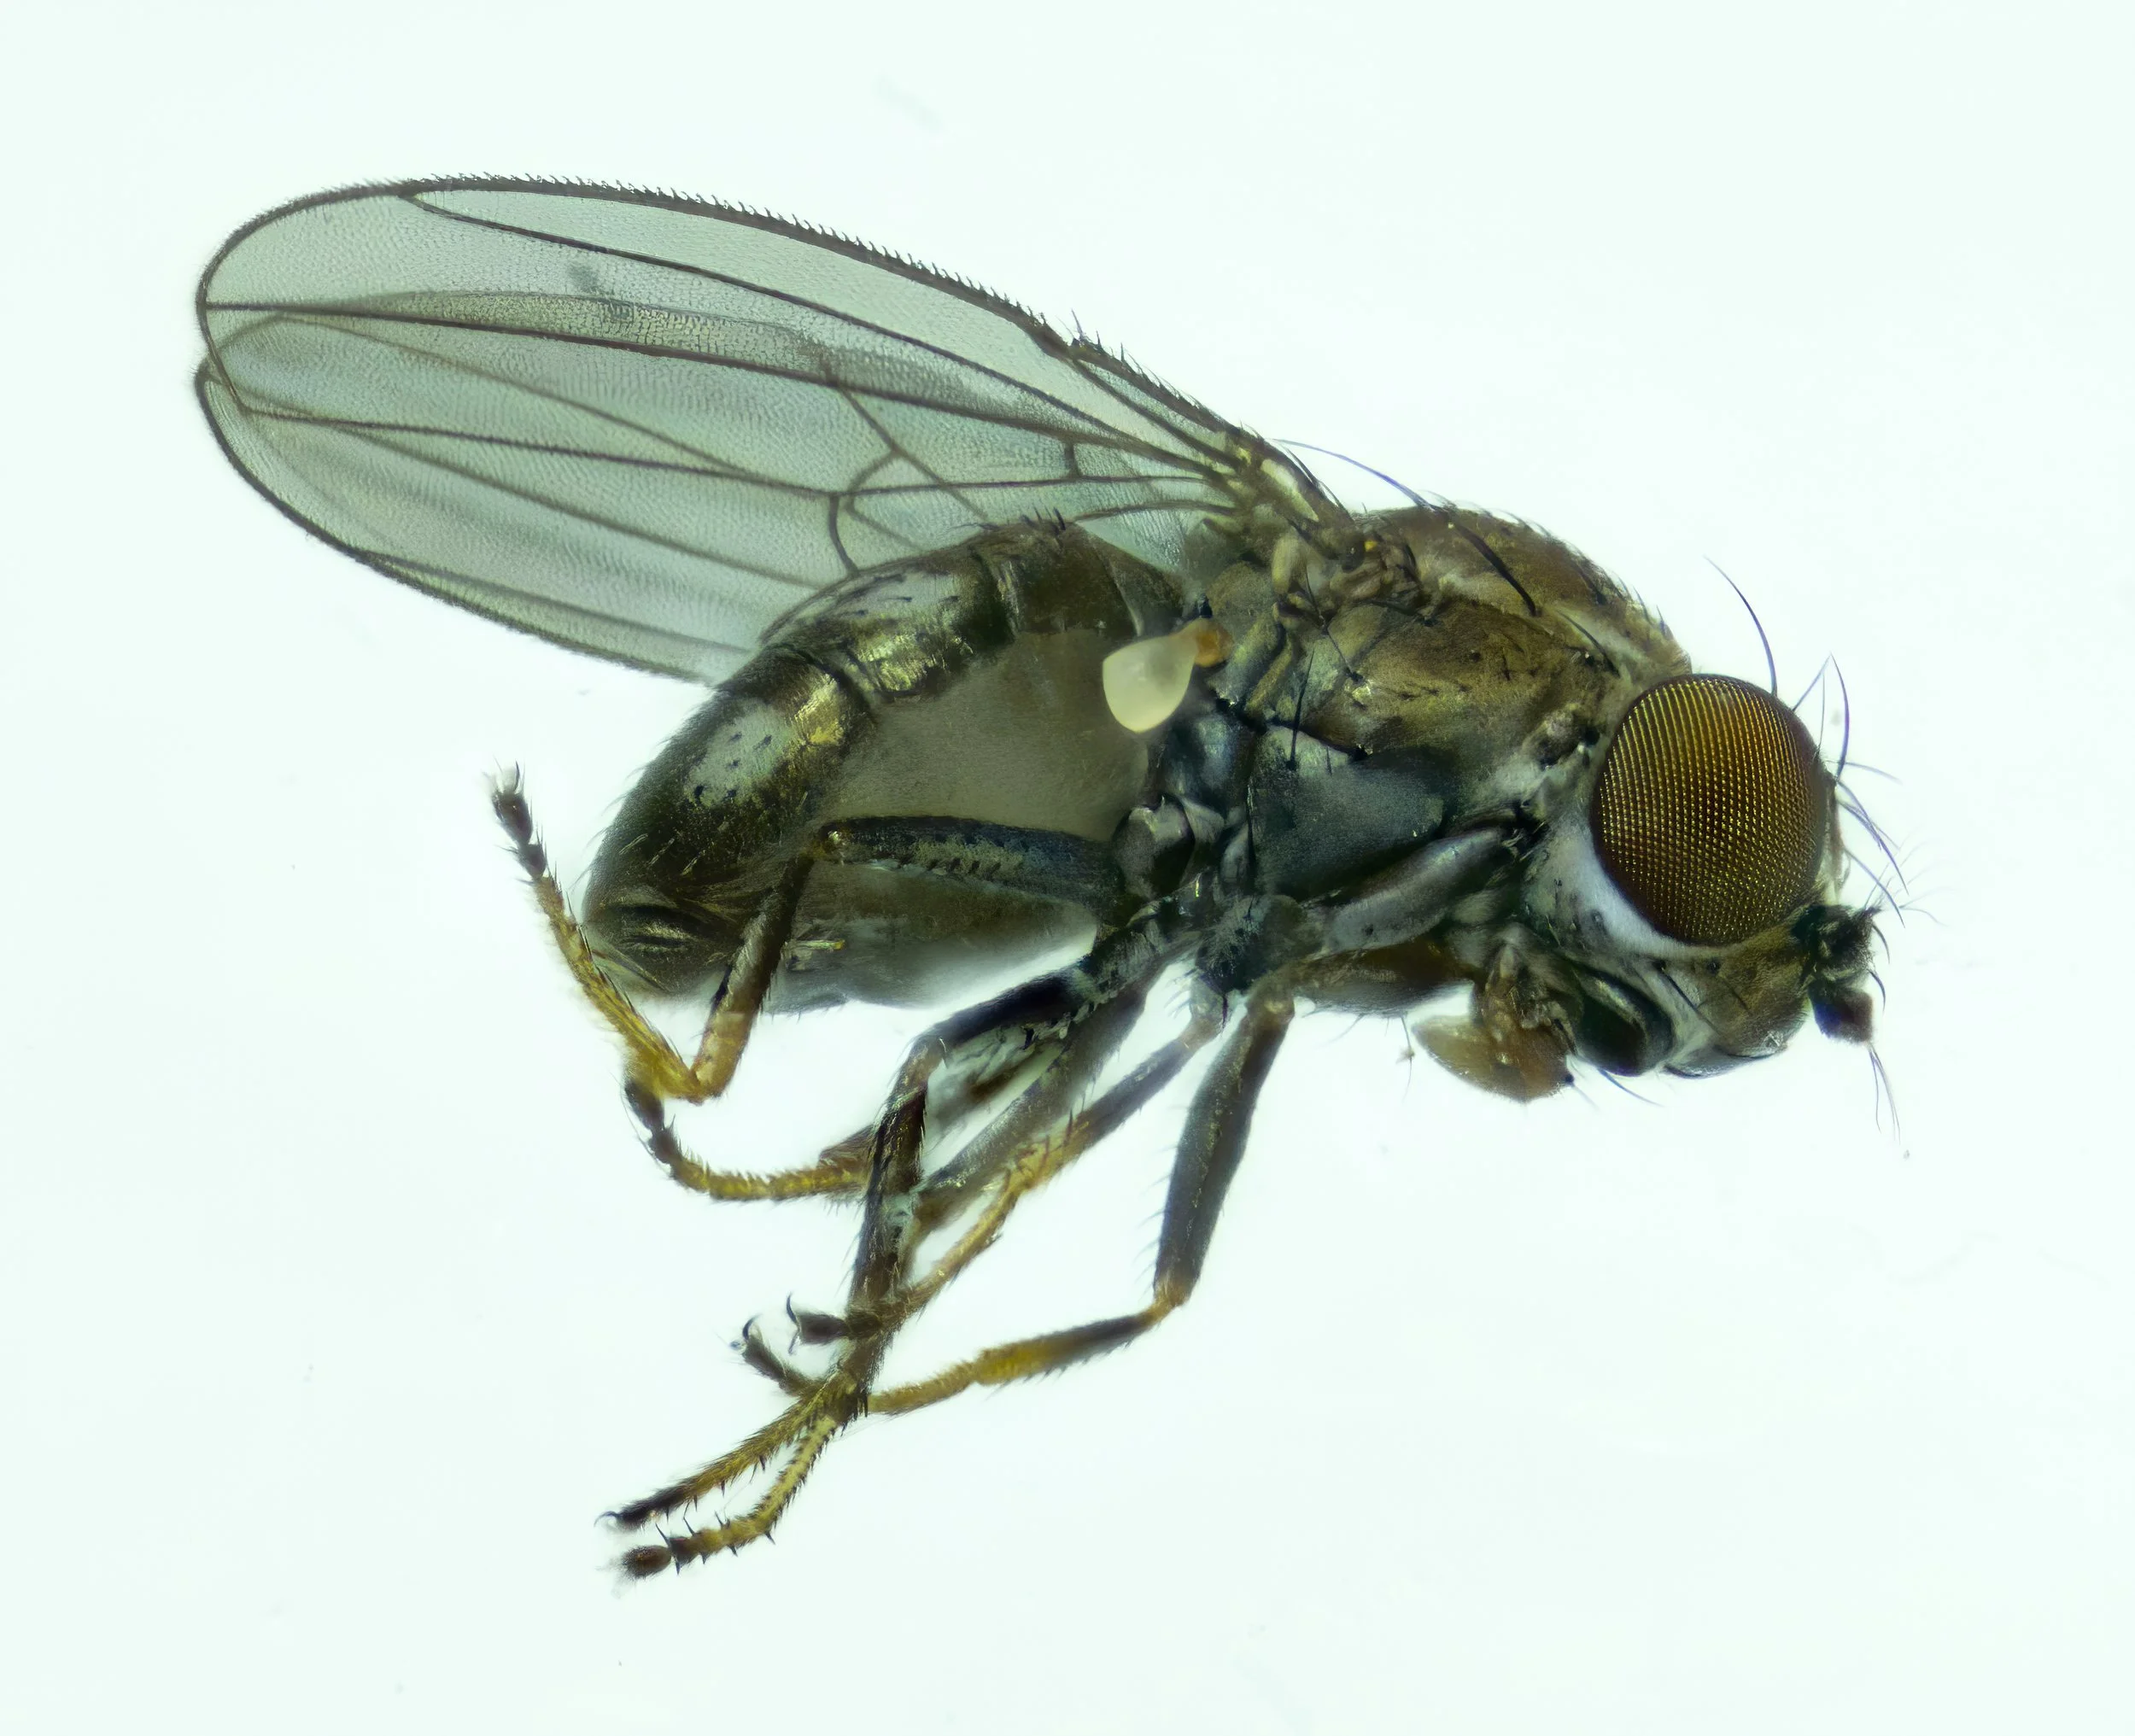
©Phil Warb
(Brine Fly) in the family Ephydridae and subfamily Hydreilliinae
Removing “noise” from an image
“Noise” is an excessive graininess in the image which obscures detail. It is usually caused by a high ISO. Unfortunately noise does mean the irrevocable loss of some of the detail, so it is best to keep the ISO down to low levels for a detailed shot of an insect. However, sometimes a high ISO can’t be avoided. Maybe you took an opportunistic photo of an insect in a shaded area without a flash. When this happens, there are software solutions to mitigate some of the loss of image quality and remove some of the noise from the image. A good option is Topaz Labs’ “De-noise” app. The following video demonstrates.
Before
We started with this rather noisy image taken with an ISO of 3200. If you look closely, there is an artificial graininess that is obscuring detail.
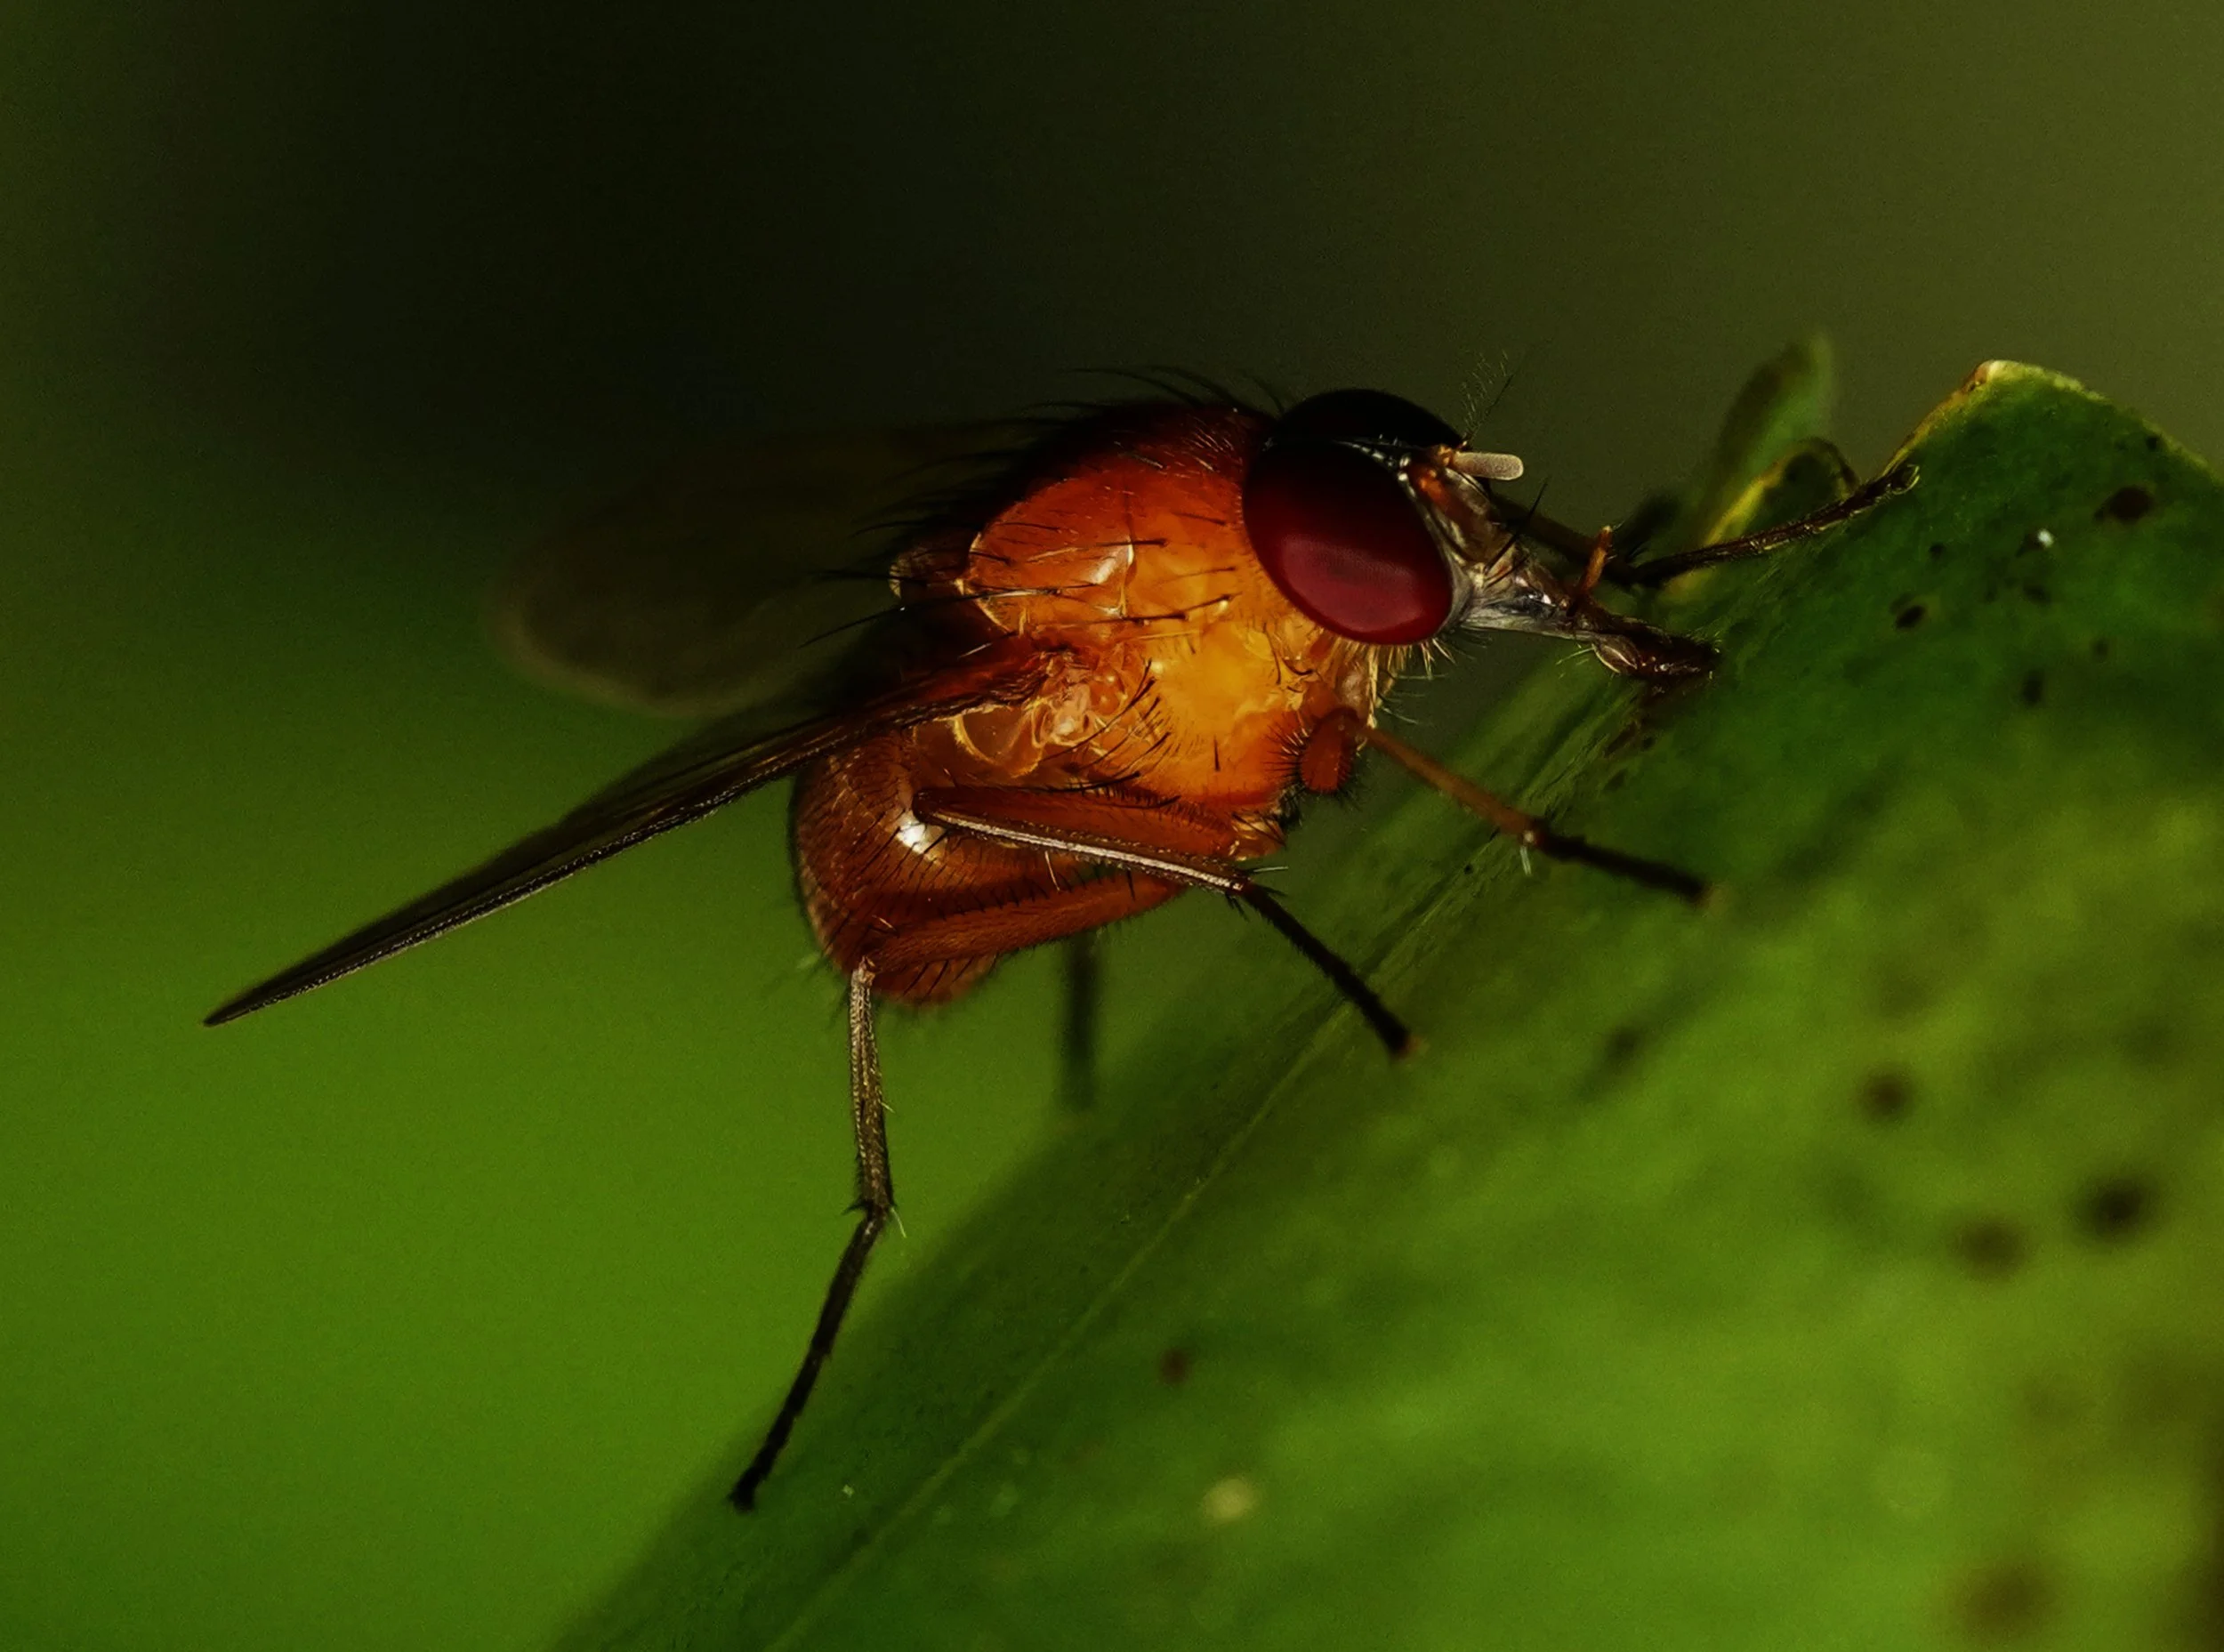
©Phil Warb
After
The De-noise software has made a definite improvement. It doesn’t restore all the detail that has been lost but it does improve the clarity of the shot.
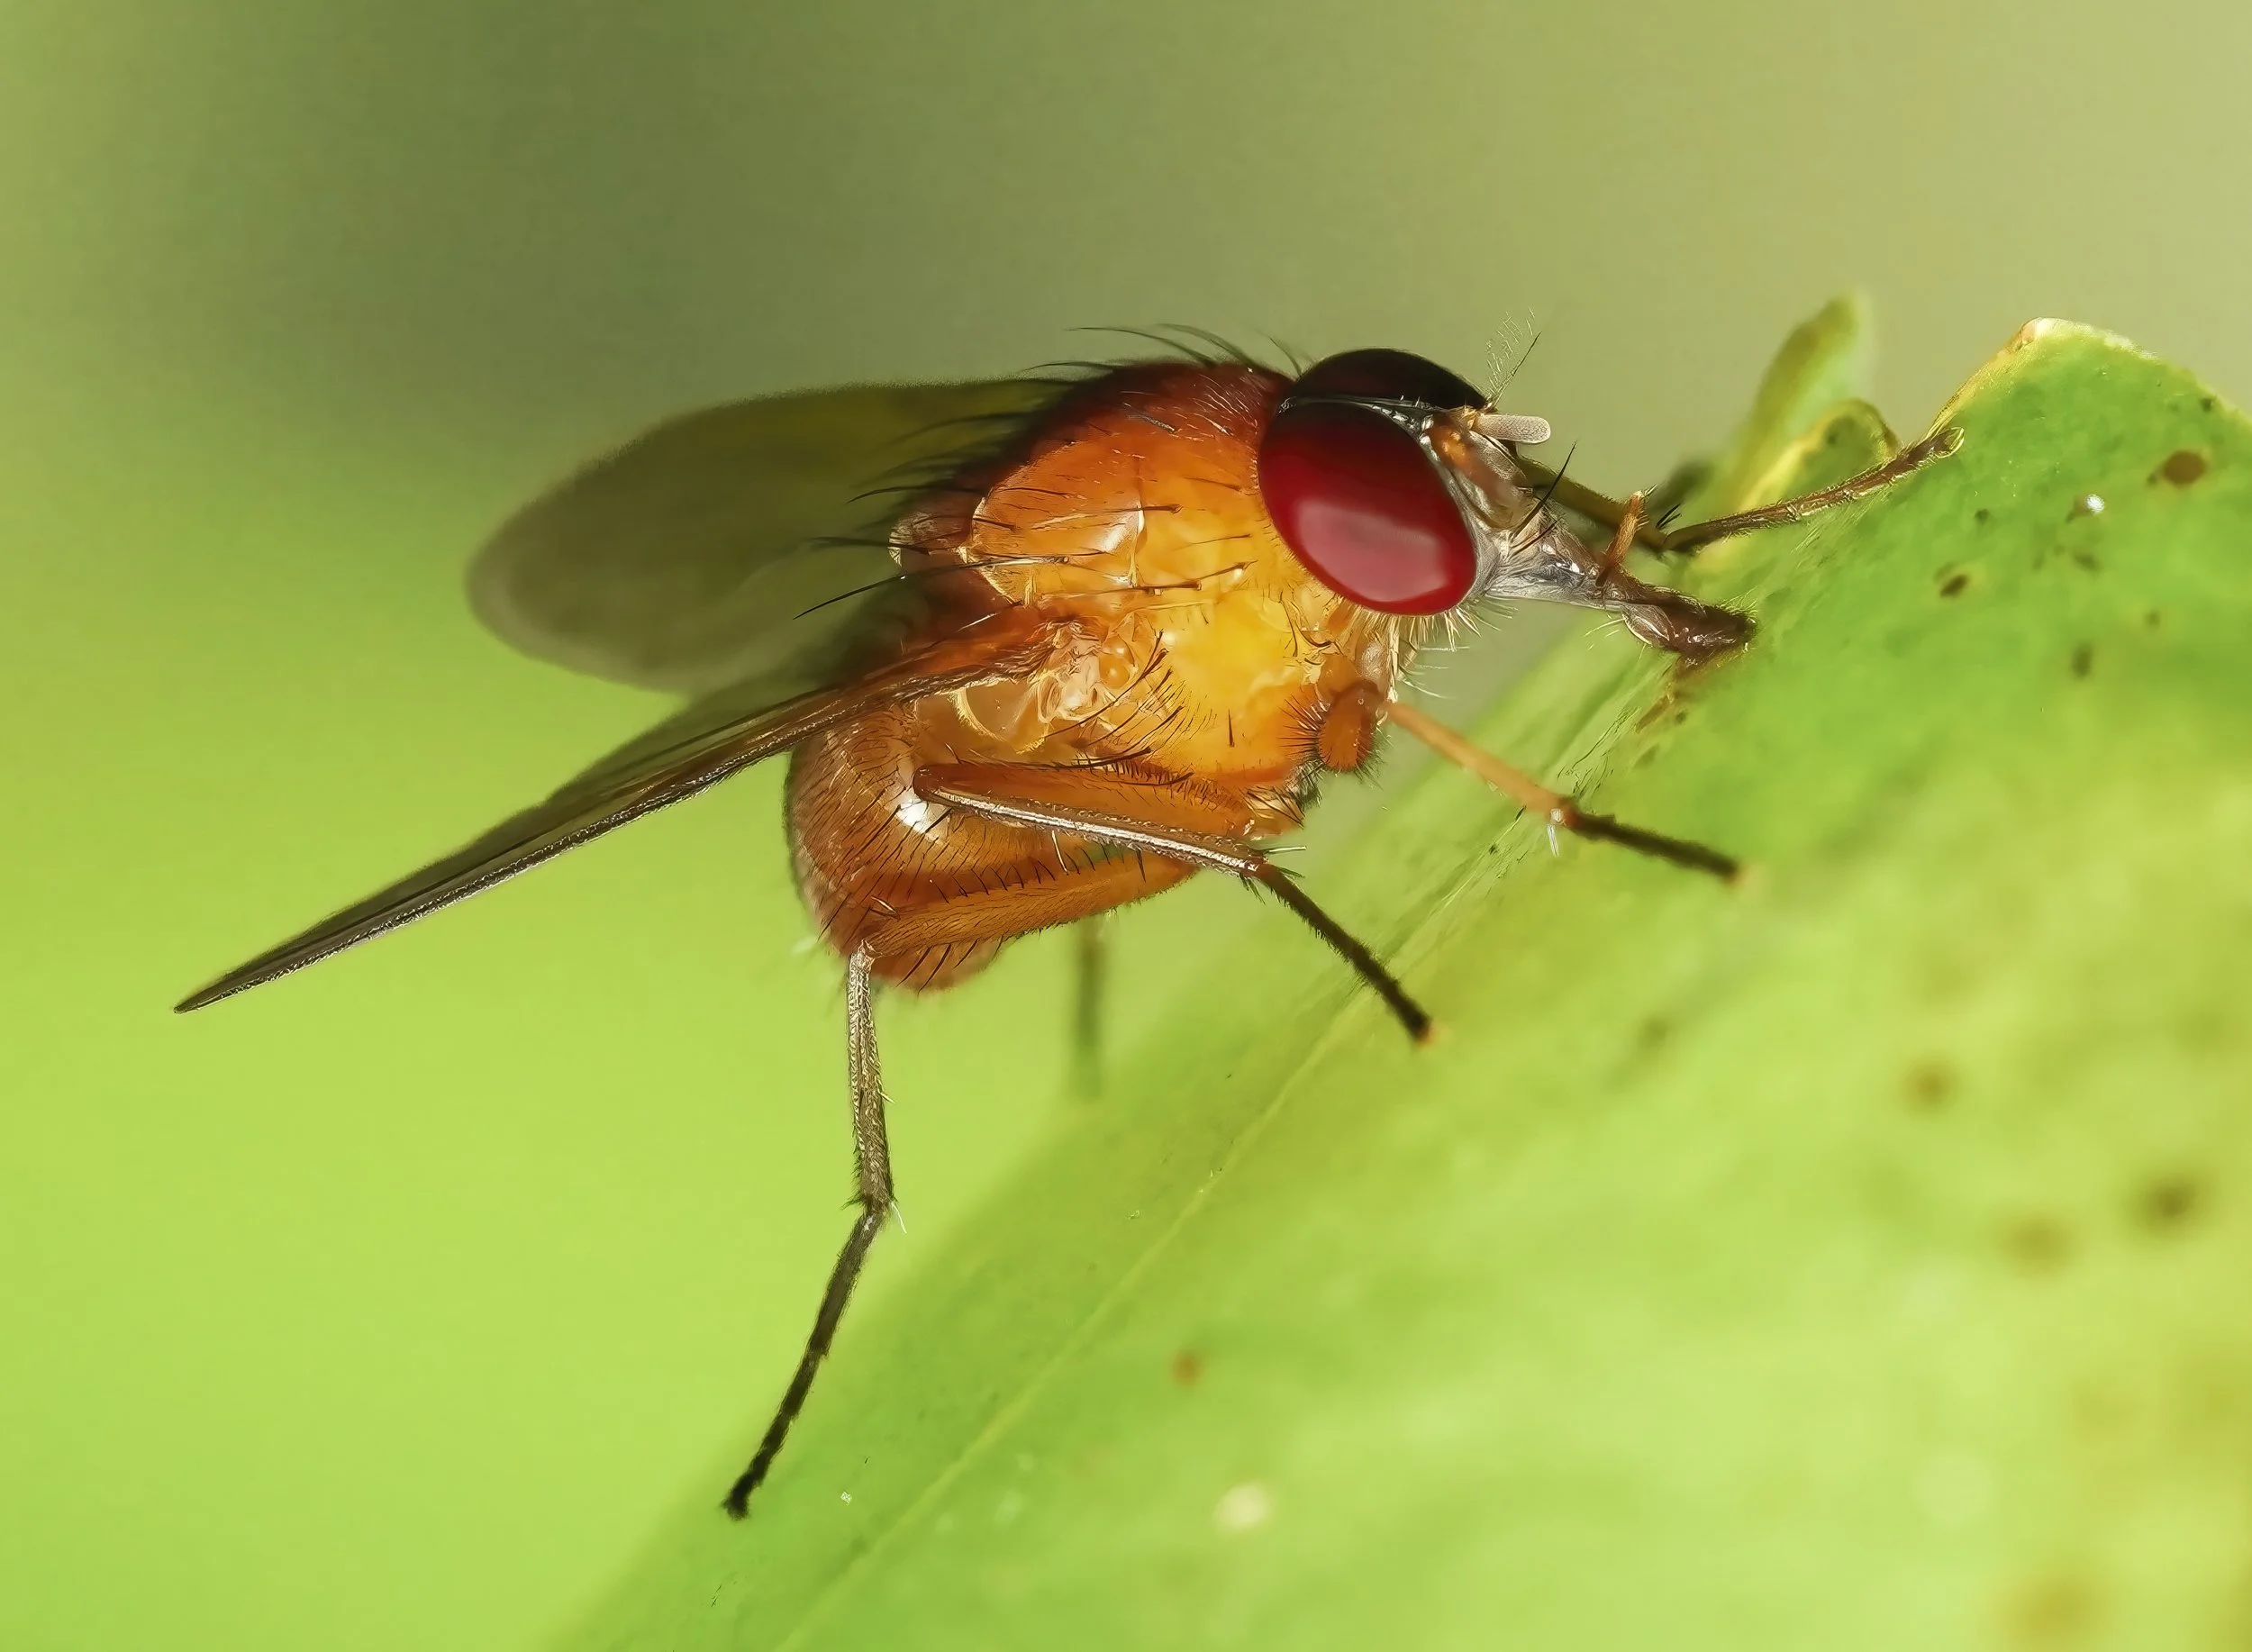
©Phil Warb
Dichaetomyia sp., maybe D. norrisi, Family: Muscidae